📑 Table of Contents ▶
- Part 1 — Open-Face Tuna Melt Basics
- Fundamentals
- Preparation/setup
- Directions
- Part 2 — Enhancing Your Open-Face Tuna Melt
- Technique
- Tips/tricks
- Part 3 — Perfecting Your Open-Face Tuna Melt
- Perfecting results
- Troubleshooting/variations
- Part 4 — Serving Up Your Open-Face Tuna Melt
- Serving/presentation
- Pairings/storage
- Conclusion
Open-Face Tuna Melt
Crispy comfort foods hold a special place in many kitchens. The open-face tuna melt, with its blend of savory flavors and textures, captures that nostalgia seamlessly. I remember savoring this delightful dish after school, its cheesy aroma wafting through the house. This comfort food always provided that warm, satisfying feeling after a long day, especially when it came together in mere minutes.
Creating an open-face tuna melt combines convenience and flavor, making you feel like you’re indulging in a hearty meal. With just a handful of simple ingredients like canned tuna, mayonnaise, and chopped vegetables, you can whip up a dish that pleases both adults and kids. The crispy toasted bread meets the creamy tuna mixture, and topping it with gooey cheese brings it all together. The cheese bubbling under the broiler offers a comforting melty finish that’s simply irresistible.
This recipe has transformed busy weeknights into delicious family gatherings. Sharing open-face tuna melts around the table connects loved ones through laughter and good food, demonstrating just how satisfying this quick meal can be.
Part 1 — Open-Face Tuna Melt Basics
Fundamentals
The open-face tuna melt serves as a versatile dish adapted to various tastes. At its core, this recipe melds the richness of canned tuna with the creaminess of mayonnaise, chopped celery for crunch, and onion for a flavorful kick. It delivers big taste without a fuss.
The foundation for this recipe hinges on choosing quality ingredients. Opt for good canned tuna packed in water or oil. The tuna plays a leading role, so don’t skimp by using anything less. Freshness shines through, especially when you blend the tuna with crunchy vegetables and creamy mayonnaise. Each spoonful should burst with flavor, setting the tone for a satisfying meal.
Preparation/setup
Preparation for an open-face tuna melt is straightforward. Start by gathering all the ingredients in your kitchen. Make sure you have everything ready to go to streamline the cooking process.
First, preheat your oven or broiler to ensure the cooking temperature is just right. This ensures that the cheese melts evenly, creating that perfect gooeyness you crave. Assemble the chopped celery and onion next to your tuna and mayonnaise—a quick mix will create the base of your melt.
It’s also crucial to have your toasted bread on hand, as this becomes the canvas for your delicious topping. An oven-safe baking sheet makes transferring the open-faced delights easy, so ensure you have that ready as well. You’ll be amazed how quickly you can pull this dish together.
Ingredients
For the open-face tuna melt, you’ll need:
- Canned tuna
- Mayonnaise
- Chopped celery
- Chopped onion
- Salt
- Pepper
- Toasted bread
- Cheese (slices or shredded, e.g., cheddar)
This combination makes for a fulfilling meal, and you can adapt the ratios to suit your taste. Curious palates can even switch up the type of cheese used, whether you prefer sharp cheddar or a milder variety.
Directions
- Preheat your oven or broiler.
- In a bowl, mix together the canned tuna, mayonnaise, chopped celery, chopped onion, salt, and pepper.
- Place the toasted bread on a baking sheet.
- Spoon the tuna mixture onto each slice of bread.
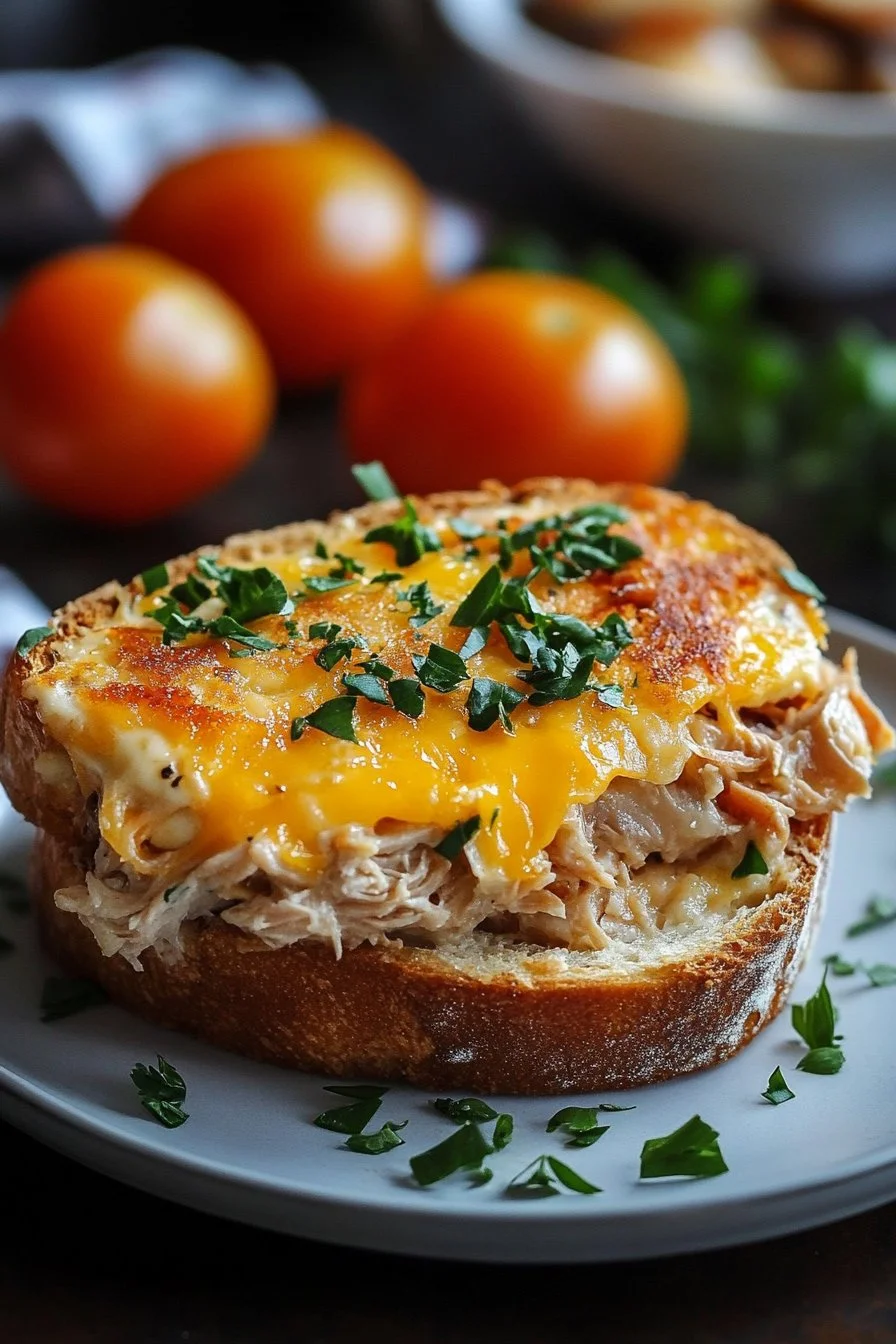
- Top with cheese.
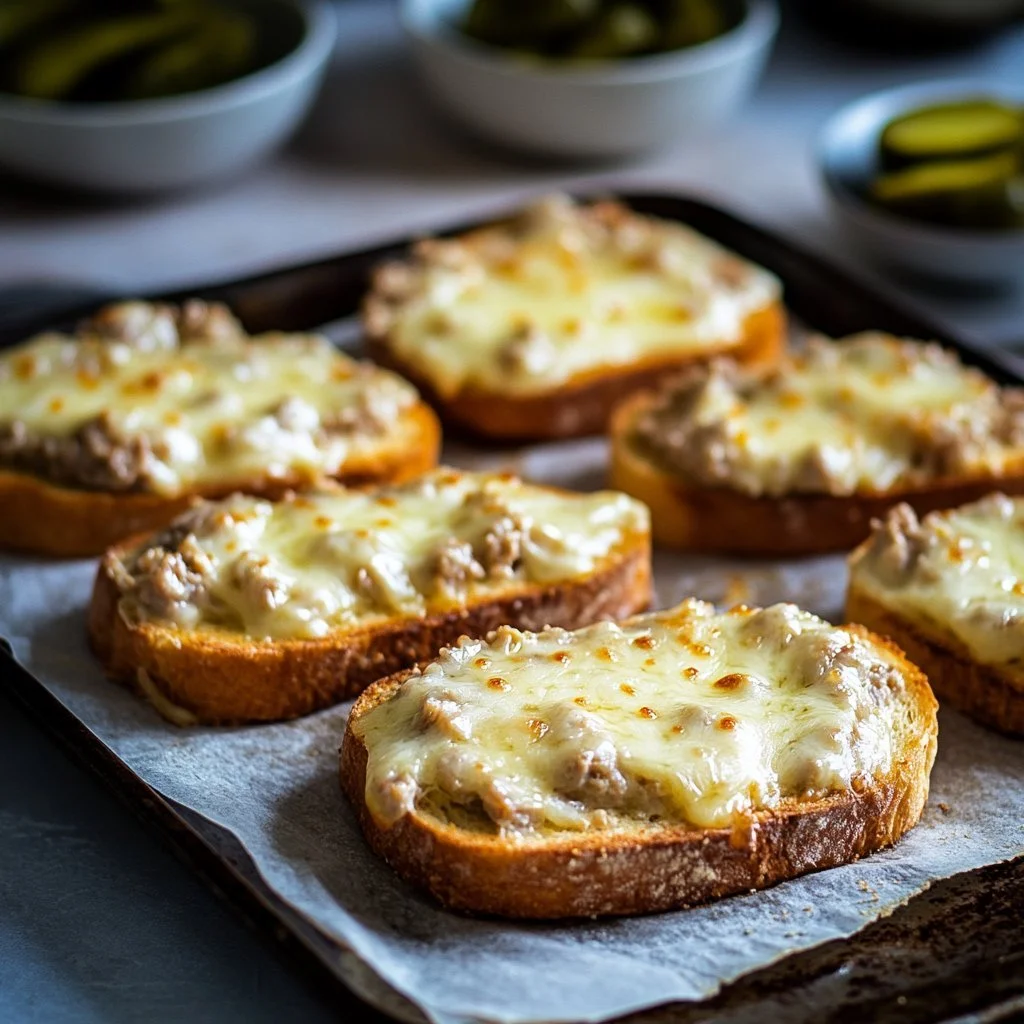
- Place under the broiler for a few minutes until the cheese is melted and bubbly.
- Serve warm.
Part 2 — Enhancing Your Open-Face Tuna Melt
Technique
For many, the technique behind making a great open-face tuna melt involves mastering the perfect mix of ingredients. Aim for a balanced tuna-to-mayo ratio to avoid overly dry or soggy melts. Start with a base mixture; you can always adjust seasonings later.
Broiling the assembled open-face tuna melts is key to achieving that delightful melt-in-your-mouth experience. Keep a close eye on the cheese—once it starts to bubble, you know you’re in business. Broilers work quickly, so maintaining vigilance prevents burning.
Tips/tricks
Transforming your tuna melt into something truly spectacular requires a few tips. Consider adding a splash of lemon juice for some refreshing acidity to the tuna mixture. Feel free to experiment with herbs and spices like dill or garlic powder for added depth of flavor.
Using day-old bread allows for an extra crispy texture, as it absorbs less moisture than fresh bread. Toasting the bread before adding the tuna mixture is essential for preventing sogginess.
Part 3 — Perfecting Your Open-Face Tuna Melt
Perfecting results
One secret to perfecting your open-face tuna melt lies in opting for quality mayonnaise. A good mayonnaise enhances the flavor of the tuna mixture while adding the necessary creaminess.
Baking times may vary depending on the thickness of your cheese and the efficiency of your oven or broiler. Monitor the melts closely; once the cheese turns golden brown and starts bubbling, they are ready for lifting out. There’s nothing worse than overcooked cheese.
Troubleshooting/variations
Not every open-face tuna melt goes as planned. If your mixture turns out too dry, add a bit more mayonnaise to achieve the desired creaminess. Conversely, if it seems too wet, try adding a tad more chopped celery or onion to absorb excess moisture.
For those looking to mix things up, feel free to customize the recipe. Adding chopped bell peppers or shredded carrots can provide a different flavor and texture. This dish is all about making it work for your taste!
Part 4 — Serving Up Your Open-Face Tuna Melt
Serving/presentation
Cut the toasted bread into halves or quarters for easy serving, and arrange them on a platter. Drizzle with a bit of olive oil or sprinkle with fresh herbs for visual appeal. This serving style captivates and invites everyone to grab a piece.
For an added touch, consider serving your open-face tuna melts with a side salad or fresh veggies. This balance offers a delightful contrast to the richness of the cheese and tuna.
Pairings/storage
Pair your open-face tuna melt with a side of crunchy pickles or a simple cucumber salad for a refreshing twist. The bright flavors complement the rich dish beautifully.
Store any leftovers in an airtight container in the fridge. While tuna melts are best enjoyed fresh, you can reheat them for a quick meal. Just pop them back under the broiler briefly to regain that delightful gooeyness.
Conclusion
The open-face tuna melt delivers comfort and nostalgia through its delightful blend of flavors. Mastering this dish adds variety to your culinary repertoire, making weeknight meals effortless and enjoyable. The perfect balance of tuna and cheese keeps everyone coming back for more. With endless variations to explore, this classic recipe adapts seamlessly to evolving tastes. Whether preparing it for family or friends, the open-face tuna melt always serves as a warm reminder of the joy associated with good food and great company.
Print
Open-Face Tuna Melt
- Prep Time: 10 minutes
- Cook Time: 5 minutes
- Total Time: 15 minutes
- Yield: 2 servings
- Category: Main Course
- Method: Broiling
- Cuisine: American
- Diet: Pescatarian
Description
A comforting and nostalgic open-face tuna melt featuring a savory blend of canned tuna, creamy mayonnaise, crunchy vegetables, and melted cheese on toasted bread.
Ingredients
- 1 can canned tuna
- 2 tablespoons mayonnaise
- 1/4 cup chopped celery
- 1/4 cup chopped onion
- Salt to taste
- Pepper to taste
- 4 slices toasted bread
- 2 slices cheese (e.g., cheddar)
Instructions
- Preheat your oven or broiler.
- In a bowl, mix together the canned tuna, mayonnaise, chopped celery, chopped onion, salt, and pepper.
- Place the toasted bread on a baking sheet.
- Spoon the tuna mixture onto each slice of bread.
- Top with cheese.
- Place under the broiler for a few minutes until the cheese is melted and bubbly.
- Serve warm.
Notes
For added flavor, consider adding a splash of lemon juice or experimenting with herbs like dill or garlic powder. Use day-old bread for a crispier texture.