📑 Table of Contents ▶
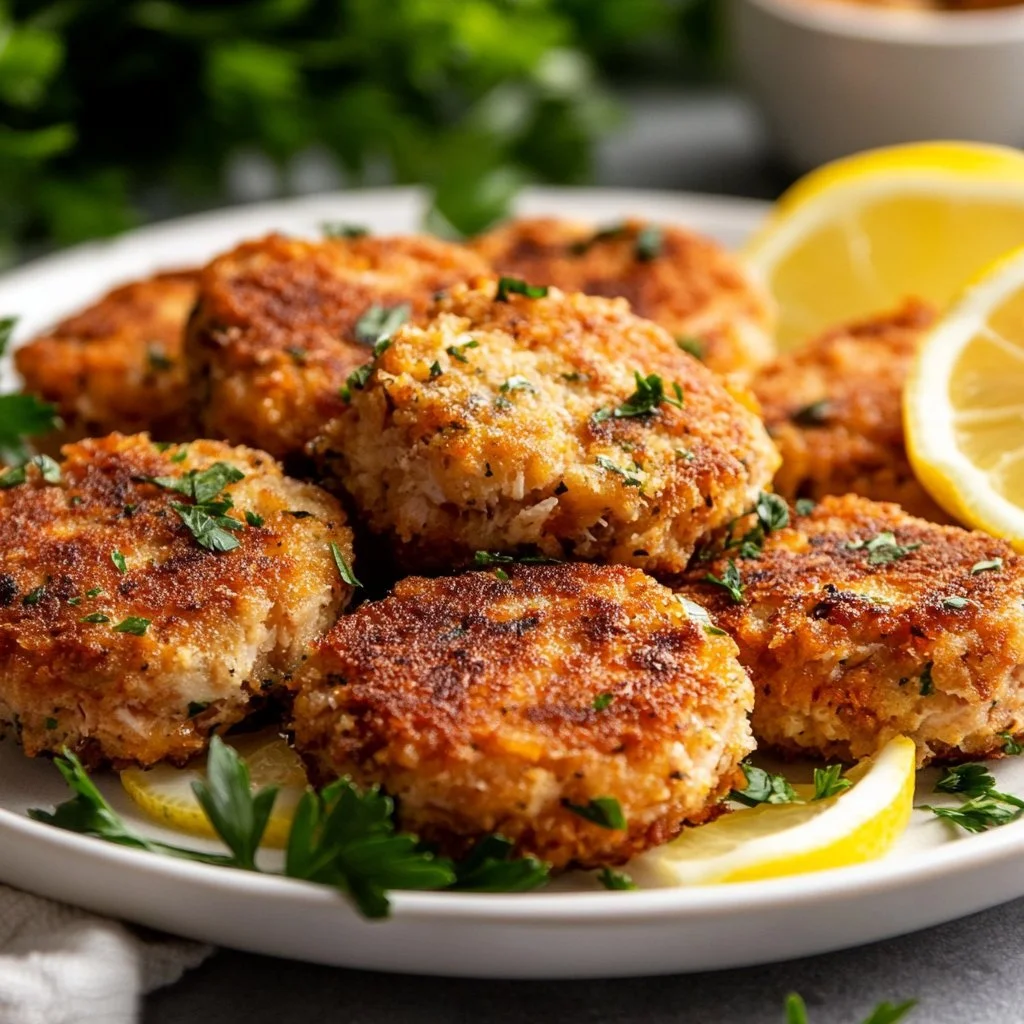
Crispy Tuna Cakes
Personal stories often fuel our culinary journeys. The crispy tuna cake recipe became a staple in my kitchen after a particularly busy week when I craved something that was both quick and satisfying. I rummaged through my pantry and discovered a can of high-quality tuna waiting to be transformed into a meal that delighted my taste buds.
It’s amazing how simple ingredients can come together to create something truly delicious. The satisfaction of achieving that golden-brown crust and a tender interior proves that healthy meals don’t need to be complicated. Crispy tuna cakes embody this ideal; they are nourishing yet comforting and effortlessly quick to prepare.
Over the years, I’ve learned that crispiness in cooking brings joy to any dish. The crunch of panko breadcrumbs paired with tender tuna creates a meal perfect for casual family dinners or quick lunches. Embracing the air fryer makes this recipe even more appealing, ensuring we enjoy crispy textures without the added grease. Let’s dive into this beloved recipe for crispy tuna cakes that will surely impress your family and friends.
Making Crispy Tuna Cakes
Fundamentals
Understanding the fundamentals of crispy tuna cakes is essential for creating a delightful dish. These cakes balance protein, flavor, and texture seamlessly. Starting with high-quality, drained tuna elevates the dish right from the beginning. Using fresh herbs like dill or parsley enhances the flavor profile, making each bite burst with freshness.
Panko breadcrumbs play a crucial role in achieving that perfect crunch. Unlike regular breadcrumbs, panko is lighter and more substantial, lending extra texture and ensuring the cakes hold their shape while frying. The method of frying quickly adds a golden, crispy exterior, while the inside stays wonderfully moist.
Preparation/Setup
Preparation for crispy tuna cakes is straightforward. Gather your ingredients—one can of high-quality tuna, a cup of panko breadcrumbs, one large egg, finely chopped green onions, fresh lemon juice, herbs, salt, and pepper. Having everything ready makes the process smooth.
Start by flaking the drained tuna in a mixing bowl until it’s light and fluffy. This step creates a better texture for the cakes. The next crucial step involves mixing in the panko breadcrumbs, beaten egg, green onions, lemon juice, and chopped herbs. Ensure an even distribution of the ingredients to fortify every bite with flavor.
Ingredients
To whip up a batch of crispy tuna cakes, you’ll need:
- 1 can (5 oz) high-quality tuna, drained
- 1 cup panko breadcrumbs
- 1 large egg
- 2 green onions, finely chopped
- 2 tablespoons fresh lemon juice
- 2 tablespoons fresh dill or parsley, chopped
- Salt and pepper to taste
- 3 tablespoons olive oil for frying
Having these ingredients on hand keeps the recipe simple and accessible. Adjusting the herbs and seasonings allows for personal touches while keeping the essence of the dish intact.
Directions
- In a mixing bowl, flake the drained tuna until light and fluffy.
- Add panko breadcrumbs, beaten egg, green onions, lemon juice, chopped dill or parsley, salt, and pepper. Mix until combined.
- Form the mixture into small patties, about 2-3 inches wide.
- Heat olive oil in a skillet over medium heat.
- Fry the patties until golden brown on both sides, about 4-5 minutes each.
- Drain excess oil on paper towels. Serve hot with your favorite dipping sauce.
Expert Techniques for Tuna Cakes
Technique
The technique employed in cooking crispy tuna cakes enhances the final product’s consistency and flavors. For optimal results, make sure the skillet is adequately heated before adding the patties. This ensures a quick cooking process, crucial for achieving golden-brown cakes without drying them out.
Another key detail lies in the formation of the patties. Keeping them uniform in size promotes even cooking. If they’re too thick or uneven, some parts may cook too rapidly while others remain underdone. Adjust the heat as needed while frying to avoid burning while ensuring the insides cook thoroughly.
Tips and Tricks
Utilizing a few practical tips can elevate your crispy tuna cakes even further. For instance, chill the formed patties for about 30 minutes before cooking. This allows the cakes to firm up, enhancing their ability to hold together during frying.
Experimenting with different herbs can create distinct flavor profiles. If you prefer a zestier approach, try adding finely grated lemon zest alongside the fresh lemon juice. Tasting the mixture before frying allows you to adjust seasonings, ensuring perfect flavor.
Perfecting Crispy Tuna Cakes
Perfecting Results
Achieving the perfect crispy tuna cake involves paying attention to a few critical factors. Temperature plays a huge role. Ensure the oil is hot enough; too cool will result in greasy patties that won’t achieve the desired texture. Conversely, if it’s too hot, the outside may burn before the inside cooks through properly.
Timing also matters. Monitor each side’s cooking time closely. A fine balance between cooking long enough for a golden crust while ensuring the inside remains moist is essential. When cooked correctly, the interior of each cake should display a beautiful, flaky texture.
Troubleshooting and Variations
Sometimes things might not go as planned. If your tuna cakes seem to fall apart while frying, consider incorporating an additional egg or more breadcrumbs to improve binding. Adjusting the ratios slightly can aid in achieving the perfect consistency.
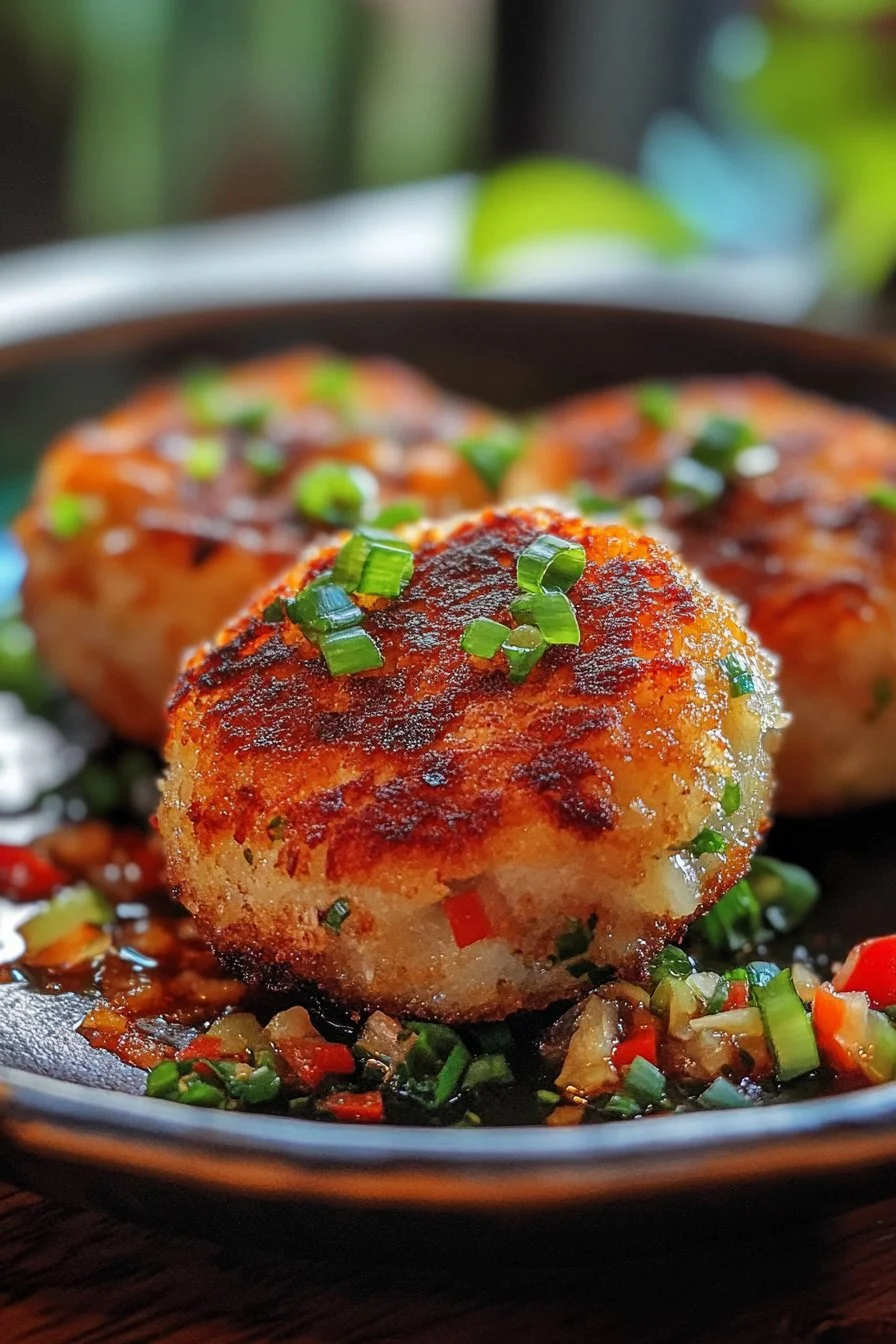
Variations abound with this recipe; consider adding different seasonings or vegetables like bell peppers for added crunch and flavor. For those who enjoy a touch of spice, including diced jalapeños in the mix can add excitement without overwhelming the base flavors.
Serving and Enjoying Tuna Cakes
Presentation
Presenting crispy tuna cakes beautifully can elevate the dining experience. Arrange the patties attractively on a platter with a drizzle of your favorite dipping sauce like aioli or a spicy yogurt sauce. For an added touch, garnish with extra chopped herbs or thinly sliced green onions.
Serve with a side of fresh salad or roasted vegetables to create a balanced meal. The vibrant colors of fresh produce not only enhance the plate visually but also offer a refreshing counterpoint to the rich, crispy cakes.
Pairings and Storage
Pair your crispy tuna cakes with various side dishes to create a memorable meal. Fresh salads or coleslaw provide a crunchy contrast, while a zesty dipping sauce completes the experience. Leftover cakes, if any, store well in an airtight container in the refrigerator for up to three days. Reheating in an air fryer keeps them crispy, restoring their delightful texture.
With a little creativity, you can enjoy these cakes in different ways. Consider making mini sliders by adding the patty to a bun with fresh greens and sauces, delivering a delightful twist to traditional burger night.
Crispy tuna cakes transform pantry staples into a crowd-pleasing dish. The combination of quality tuna, fresh herbs, and a crunchy exterior creates a satisfying meal. Embrace this recipe as it is—not only does it promise fantastic flavor, but it reflects the art of cooking with heart and simplicity.
Print
Crispy Tuna Cakes
- Prep Time: 15 minutes
- Cook Time: 10 minutes
- Total Time: 25 minutes
- Yield: 4 servings
- Category: Main Course
- Method: Frying
- Cuisine: American
- Diet: Pescatarian
Description
Quick and satisfying crispy tuna cakes made with high-quality tuna, fresh herbs, and a crunchy panko crust, perfect for family dinners or lunch.
Ingredients
- 1 can (5 oz) high-quality tuna, drained
- 1 cup panko breadcrumbs
- 1 large egg
- 2 green onions, finely chopped
- 2 tablespoons fresh lemon juice
- 2 tablespoons fresh dill or parsley, chopped
- Salt and pepper to taste
- 3 tablespoons olive oil for frying
Instructions
- In a mixing bowl, flake the drained tuna until light and fluffy.
- Add panko breadcrumbs, beaten egg, green onions, lemon juice, chopped dill or parsley, salt, and pepper. Mix until combined.
- Form the mixture into small patties, about 2-3 inches wide.
- Heat olive oil in a skillet over medium heat.
- Fry the patties until golden brown on both sides, about 4-5 minutes each.
- Drain excess oil on paper towels. Serve hot with your favorite dipping sauce.
Notes
Chill the formed patties for 30 minutes before frying for better texture. Experiment with different herbs for distinct flavors.