
📑 Table of Contents ▶
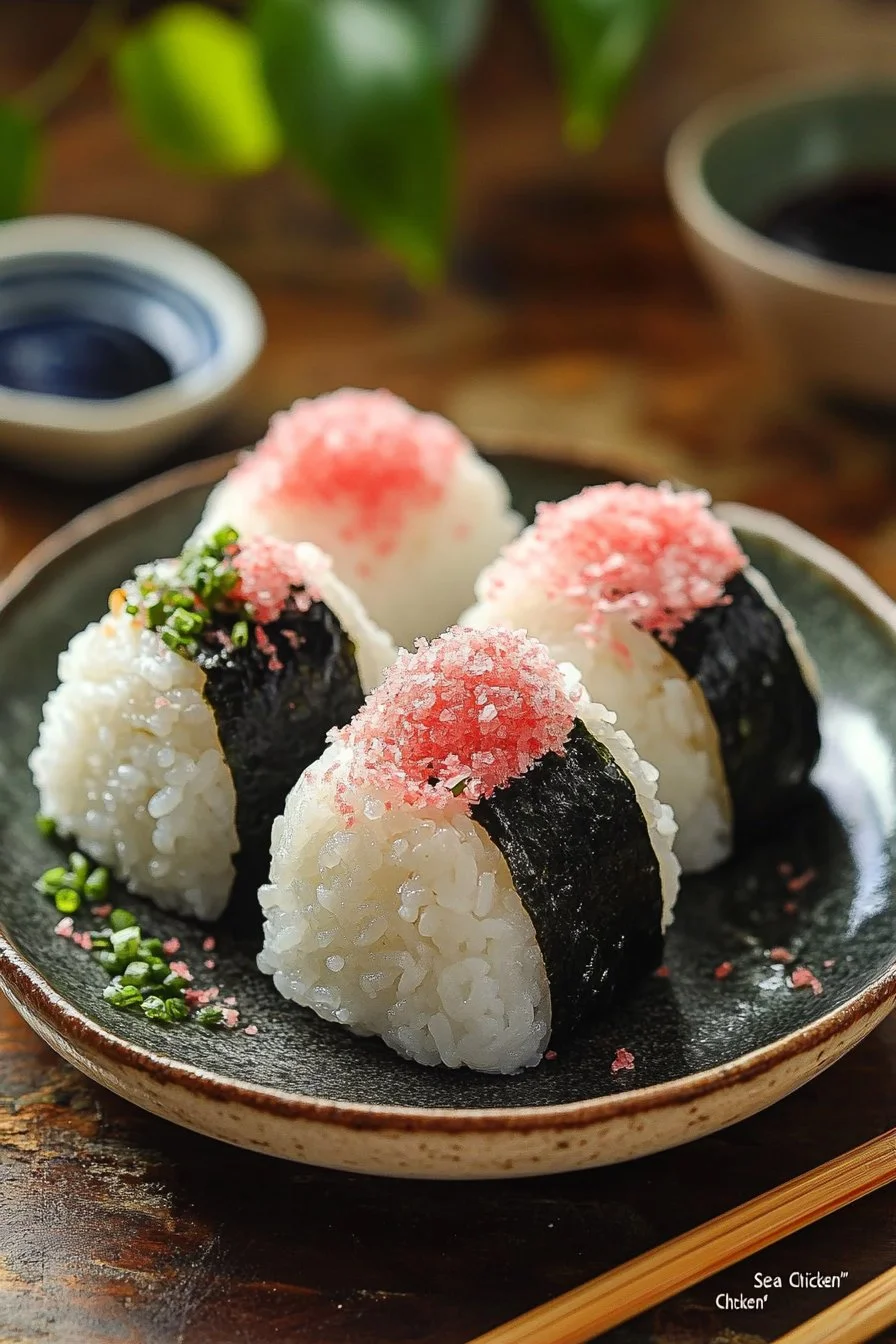
Tuna Mayo Rice Ball
Creating quick and delicious meals often leads me to embrace simplicity while maximizing flavor. Tuna mayo rice balls, or onigiri, exemplify this perfectly. These delightful bites combine easy preparation with satisfying taste, making them a staple in my kitchen. I often find myself whipping up batches of these tuna mayo rice balls as a healthy snack for my family or a quick lunch when time is short.
Cooking warm Japanese short-grain rice brings back memories of gathering around the dinner table, each person crafting their rice ball with unique fillings and seasonings. The creamy, savory tuna mayo filling enhances the tender rice, creating a delightful contrast in every bite. Tuna mayo rice balls have become our go-to meal for picnics and busy weekdays alike, and every bite resonates with moments of joy shared.
The beauty of tuna mayo rice balls lies in their versatility. You can adjust the filling to suit your taste, making them a canvas for culinary creativity. However, the classic combination remains a favorite in our household—a reminder that sometimes, the simplest things deliver the most pleasure.
Tuna Mayo Rice Ball Essentials
Fundamentals
Crafting tuna mayo rice balls requires only a few key ingredients. The star features Japanese short-grain rice, which offers a sticky texture, perfect for shaping your rice balls. This variety of rice holds together well, ensuring that every bite remains intact, making it ideal for on-the-go snacks.
The next essential component is canned tuna, effortlessly accessible and ready to use in your filling. With added Japanese mayonnaise and soy sauce, you create a rich, creamy mixture that complements the rice beautifully. Together, they deliver delightful umami flavors. You can experiment by adding additional seasoning or components, such as sesame seeds or chopped seaweed, but at its core, the classic recipe shines.
Preparation/Setup
Preparing tuna mayo rice balls is straight to the point. First, drain the canned tuna using a colander. This step ensures you remove excess liquid, preventing soggy rice balls. Then, transfer the tuna to a mixing bowl and blend in the Japanese mayonnaise, soy sauce, and ground black pepper. The tuna mixture should be creamy yet flavorful, serving as the heart of your rice ball.
You’ll also need an onigiri mold or your hands, if you prefer a personal touch. Lightly sprinkle some salt inside the mold or on your hands to help shape the rice. The ratio of rice to filling is important. Use about 50-60g of warm rice per rice ball, making sure the rice is slightly sticky for easy shaping. Once you achieve the perfect balance, you can start assembling.
Ingredients
- 700 g cooked Japanese short-grain rice
- 80 g canned tuna, thoroughly drained
- 1 tbsp Japanese mayonnaise
- 1 tsp Japanese soy sauce (koikuchi shoyu)
- 1 pinch ground black pepper
- 6 strips roasted seaweed (nori)
Directions
- Place a colander or sieve over a bowl to drain the canned tuna.
- Squeeze out excess liquid from the tuna and pour it away.
- Transfer the tuna to a bowl and mix in Japanese mayonnaise, soy sauce, and ground black pepper.
- Sprinkle salt in the onigiri mold and fill it with 50-60g of warm rice.
- Make a dent in the rice, and add about 2 teaspoons of the tuna mayo filling.
- Top with an equal amount of rice, then press it with the lid of the onigiri mold.
- If shaping by hand, fold the rice over to seal the filling, pressing it into a triangle shape with your palm.
- Wrap each onigiri with nori, and enjoy!
Enhancing Your Tuna Mayo Rice Balls
Technique
Achieving the right texture and flavor balance in tuna mayo rice balls takes practice. As you learn the nuances of the rice and the filling, you can master the technique of shaping and wrapping them securely. When pressing the rice into the mold or shaping by hand, ensure firm pressure without overcompacting the rice, as this allows the rice ball to hold its shape while remaining tender.
Additionally, consider warming the nori slightly before wrapping the rice balls. This warm touch makes the nori easier to mold and creates a pleasant contrast with the cold filling. Experiment with how tightly you press the rice together; a slight looseness can reduce the risk of tearing when handling.
Tips and Tricks
To create a perfect tuna mayo rice ball experience, consider these tips. First, keep your rice warm but not too hot while shaping. Warm rice sticks together beautifully but can be uncomfortable to handle if too hot. Second, wet your hands lightly before shaping to help prevent sticking.
You can also refrigerate leftovers in an airtight container. Enjoy cold, or warm them briefly in the microwave. You can whip up a variety by substituting the tuna with alternatives like mashed avocado or even grilled salmon to switch up flavors without compromising the tare.
Perfecting the Taste
Perfecting Results
For truly impressive tuna mayo rice balls, timing and ingredient quality matter. Opt for high-quality canned tuna that retains its natural flavor and texture. If using sushi rice, rinse it thoroughly to remove excess starch before cooking; this helps achieve that iconic sticky consistency.
Additionally, let your rice sit covered for a few minutes after cooking. This resting period allows the rice to steam slightly, making it even more pliable for shaping.
Troubleshooting and Variations
If you find your rice balls falling apart, check the rice consistency. Ensure it’s adequately sticky before shaping. Adjust moisture content by eliminating extra liquid when preparing the tuna filling. If you want more flavor, add finely chopped green onions or a pinch of sesame oil to the filling for a delightful twist.
For those seeking creativity, try varying your ingredients. Experiment with spicy mayo mixed into the filling or add some avocado for creaminess. These creative variations keep your meals exciting and engaging.
Tuna Mayo Rice Ball Presentation
Serving and Presentation
Presenting your tuna mayo rice balls can enhance the eating experience. Arrange the rice balls on a platter and garnish with fresh herbs or sliced vegetables for a colorful display. Serving them with pickled vegetables adds a delightful crunch that complements the creamy filling perfectly.
Additionally, consider drizzling your favorite dipping sauce next to the rice balls for added flavor. A mix of soy sauce and a hint of wasabi elevates the experience, allowing each person to customize their bite.
Pairings and Storage
These tuna mayo rice balls pair beautifully with fresh salads, steamed edamame, or miso soup, providing a balanced meal. They are great for lunch boxes too, maintaining their shape and flavor well.
To store, keep any leftovers wrapped tightly in plastic wrap or placed in an airtight container in the refrigerator. Enjoy them within a couple of days for optimum taste and safety.
Understanding these essential aspects of creating and enjoying tuna mayo rice balls will enhance your culinary skills, bringing joy to both your cooking and dining experiences.
Print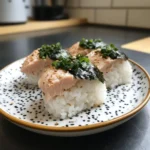
Tuna Mayo Rice Ball
- Prep Time: 15 minutes
- Cook Time: 30 minutes
- Total Time: 45 minutes
- Yield: 4 servings
- Category: Snack
- Method: Assembling
- Cuisine: Japanese
- Diet: Pescatarian
Description
Delicious and versatile tuna mayo rice balls, perfect for snacks or quick lunches.
Ingredients
- 700 g cooked Japanese short-grain rice
- 80 g canned tuna, thoroughly drained
- 1 tbsp Japanese mayonnaise
- 1 tsp Japanese soy sauce (koikuchi shoyu)
- 1 pinch ground black pepper
- 6 strips roasted seaweed (nori)
Instructions
- Place a colander or sieve over a bowl to drain the canned tuna.
- Squeeze out excess liquid from the tuna and pour it away.
- Transfer the tuna to a bowl and mix in Japanese mayonnaise, soy sauce, and ground black pepper.
- Sprinkle salt in the onigiri mold and fill it with 50-60g of warm rice.
- Make a dent in the rice, and add about 2 teaspoons of the tuna mayo filling.
- Top with an equal amount of rice, then press it with the lid of the onigiri mold.
- If shaping by hand, fold the rice over to seal the filling, pressing it into a triangle shape with your palm.
- Wrap each onigiri with nori, and enjoy!
Notes
Experiment with fillings like avocado or grilled salmon for variations. Keep rice warm while shaping.