📑 Table of Contents ▶
Magic Crispy Baked Shrimp
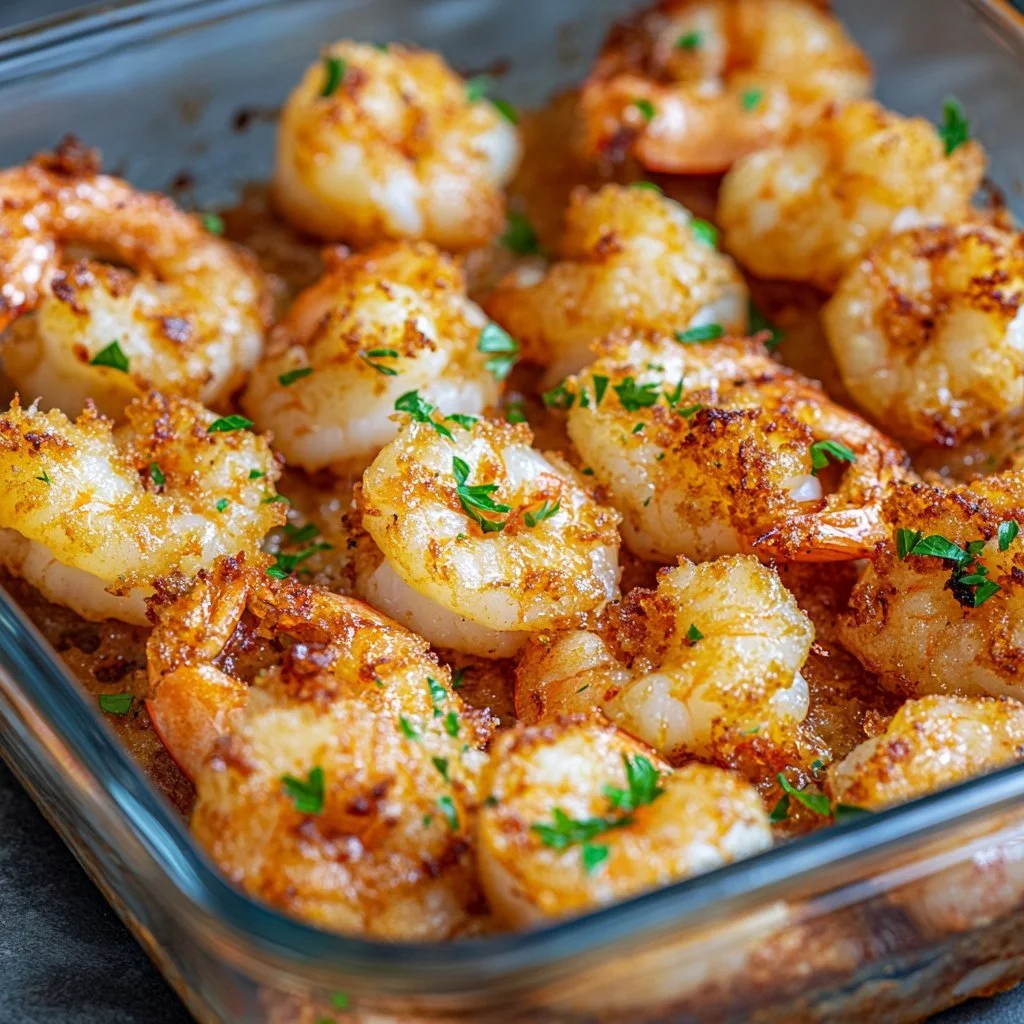
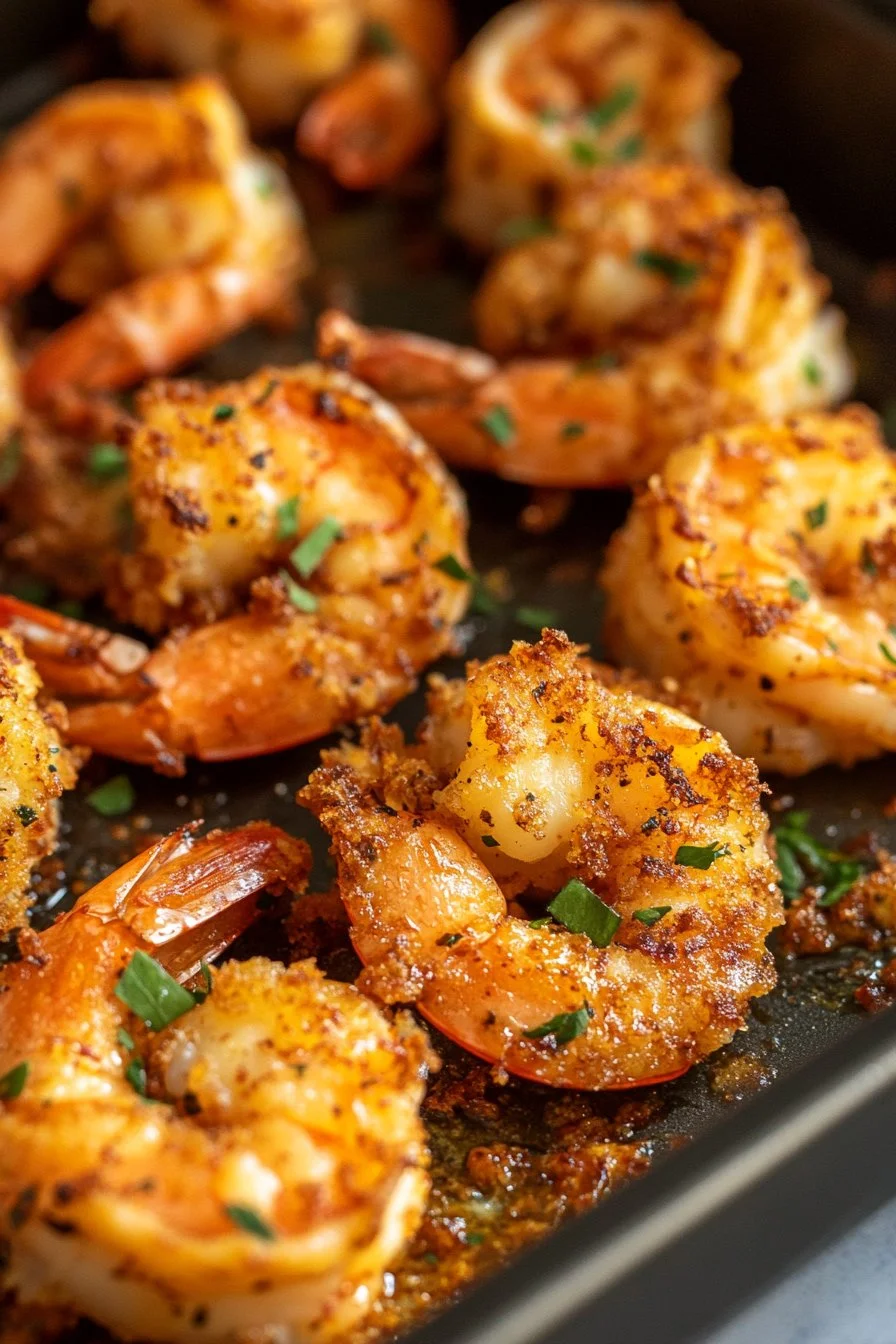
Finding delight in crispy baked shrimp transforms a simple meal into an extraordinary experience. The joy of that crunch combines perfectly with the tender shrimp, creating a dish that feels indulgent yet light. This recipe embodies everything wonderful about seafood, ensuring every bite bursts with flavor while keeping a lighter profile than traditional frying.
Growing up, shrimp always appeared at family gatherings, often fried and bubbling hot. The tantalizing aroma filled the room as everyone eagerly lined up to dig in. However, as a busy and health-conscious mom, the desire for less oil and more nutrition became paramount. This created a quest for a healthier version that still provided that satisfying crunch, which led to the birth of this Magic Crispy Baked Shrimp recipe.
Using panko breadcrumbs instead of regular breading allows for that desired crispiness without the excess oil. The spices and optional Parmesan cheese bring added depth, ensuring every bite is seasoned beautifully. This recipe not only delivers great taste but also brings back cherished memories of family feasts, making it a perfect addition to gather around the dinner table.
Crispy Baked Shrimp Fundamentals
Fundamentals
Creating crispy baked shrimp starts with understanding the main components that bring the dish to life. The key lies not just in the shrimp but in the trifecta of flour, eggs, and breadcrumbs. The shrimp’s naturally sweet flavor pairs well with a light crunch, capturing the essence of seafood without overwhelming it.
The magic begins by using large shrimp that’s both succulent and meaty. Peeled and deveined, they become prime candidates for breading, soaking up flavors while obtaining that glorious crunch once baked. The breading will turn golden brown, creating an eye-catching presentation and a delightful taste sensation.
Preparation/Setup
Proper preparation sets the stage for success when making this dish. Start with a clean, organized work area. Preheat the oven to 425°F (220°C) and line a baking sheet for easy cleanup. Set up a breading station with three trays: one for flour, one for beaten eggs, and the last for the panko breadcrumb mixture tossed with garlic powder, onion powder, paprika, salt, pepper, and optional Parmesan cheese.
The layout not only streamlines the process but also ensures each shrimp gets adequately coated with each layer. This structured approach makes executing the recipe uncomplicated and efficient, allowing for smooth breading of the shrimp while still having fun with the meal.
Ingredients
For this Magic Crispy Baked Shrimp, gather the following ingredients:
- 1 pound of large shrimp, peeled and deveined
- 1 cup of all-purpose flour
- 2 large eggs, beaten
- 2 cups of panko breadcrumbs
- 1 teaspoon of garlic powder
- 1 teaspoon of onion powder
- 1 teaspoon of paprika
- 1 teaspoon of salt
- ½ teaspoon of black pepper
- ¼ cup of grated Parmesan cheese (optional)
- Cooking oil spray
These ingredients play a crucial role, working in tandem to create the aromatic and crunchy flavor profile everyone will love. Make sure to have everything ready, as the real fun begins when the shrimp hits the breading station.
Directions
Now, follow these clear steps to achieve your own Magic Crispy Baked Shrimp:
- Preheat the oven to 425°F (220°C) and line a baking sheet with parchment paper or aluminum foil for easy cleanup.
- Set up your breading station: Place the flour, beaten eggs, and panko mixture with spices in three separate shallow bowls.
- Dredge each shrimp in flour, coating it evenly. Shake off any excess flour.
- Dip the floured shrimp into the beaten eggs, ensuring the shrimp gets thoroughly coated. Allow any excess egg to drip off.
- Coat the shrimp in the panko breadcrumb mixture, pressing gently to adhere the breadcrumbs.
- Lay the breaded shrimp in a single layer on the baking sheet, ensuring there is room between each piece for even cooking.
- Lightly spray the shrimp with a cooking oil spray for an extra crispy finish.
- Bake in the preheated oven for 12-15 minutes, or until the shrimp turn golden brown and cooked through.
- Serve immediately while hot for the best texture and flavor.
Crispy Baked Shrimp Techniques
Technique
Perfecting the art of crispy baked shrimp hinges on technique. Start by ensuring the shrimp remain dry before breading. Pat them dry with paper towels, which helps the coatings adhere better. The three-step breading procedure—flour, egg, then panko—allows for maximum crispiness. Each layer adds to the crunch, creating that perfect bite everyone craves.
Another essential element is the baking temperature. A high heat of 425°F facilitates the rapid cooking of the shrimp while also creating a beautiful golden-brown exterior. Keeping a close eye during the last few minutes of baking ensures you catch that perfect moment just before they cook too much.
Tips/Tricks
When making these shrimp, use quality panko breadcrumbs. Japanese-style breadcrumbs provide a lighter, airier texture compared to standard breadcrumbs. This contributes significantly to the end result. Don’t skip the optional Parmesan cheese. It melds beautifully with the spices, enhancing the overall flavor without overpowering the shrimp.
For those looking to switch things up, consider adding your favorite spices to the breadcrumb mixture. Think of cayenne for some heat or Italian herbs for a Mediterranean twist.
Magic Crispy Baked Shrimp Perfection
Perfecting Results
Every cooking adventure involves a bit of trial and error. To achieve perfect results, avoid overcrowding the shrimp on the baking sheet. Give each shrimp adequate space to receive heat circulation from the oven, ensuring they bake evenly. Moreover, removing the breaded shrimp from the oven at the right time guarantees that one enjoys the ideal combination of tenderness inside and crispiness outside.
Also, consider flipping the shrimp halfway through baking. This technique helps achieve an even golden color and crispy texture, providing that satisfying crunch on all sides.
Troubleshooting/Variations
In case the shrimp don’t achieve the desired crispiness, it usually comes down to breadcrumbs or cooking time. Double-check that the panko breadcrumbs are fresh and not stale, as this can impact the crunch factor. If the shrimp turn out soggy, they may have been overcrowded or may require a longer cooking time.
For alternative flavors, experiment with different seasoning combinations or breading styles. Using crushed cornflakes or sesame seeds can create unique variations on the classic recipe while maintaining that delightful crunch.
Serving and Storing Crispy Baked Shrimp
Serving/Presentation
Presenting Magic Crispy Baked Shrimp elevates the dining experience. Serve these golden-brown bites family-style on a large platter, garnished with fresh herbs like parsley or a wedge of lemon for an extra pop of color. Pairing it with a side of homemade cocktail sauce or a zesty dipping sauce enhances the flavor profile further.
Consider serving with a fresh salad or vegetables to maintain balance on the plate. The beauty of this dish is its versatility, making it suitable for weeknight dinners or as a stunning appetizer during gatherings.
Pairings/Storage
To make the meal complete, accompany the shrimp with a variety of dipping sauces, such as a tangy homemade remoulade or zesty buffalo sauce. They pair wonderfully with sides like coleslaw or roasted vegetables, rounding out the meal beautifully.
If you have leftovers, store the shrimp in an airtight container in the refrigerator for up to two days. To reheat, place them in the oven for a few minutes to regain their crispiness. Avoid microwaving, as it may lead to a rubbery texture.
Conclusion
Creating Magic Crispy Baked Shrimp at home brings an exhilarating change to your dinner table. The careful preparation, tasty seasoning, and straightforward instructions lead to a satisfying, crunchy dish. With a few tricks up your sleeve, you can serve up this delightful seafood meal quickly and effortlessly. Enjoy the burst of flavors, and let the magic of crispy goodness be a staple in your culinary adventures.
Print
Magic Crispy Baked Shrimp
- Prep Time: 15 minutes
- Cook Time: 15 minutes
- Total Time: 30 minutes
- Yield: 4 servings
- Category: Main Course
- Method: Baking
- Cuisine: American
- Diet: Gluten-Free, Dairy-Free Option
Description
Delightful crispy baked shrimp made with panko breadcrumbs for a healthier, crunchy alternative to frying.
Ingredients
- 1 pound large shrimp, peeled and deveined
- 1 cup all-purpose flour
- 2 large eggs, beaten
- 2 cups panko breadcrumbs
- 1 teaspoon garlic powder
- 1 teaspoon onion powder
- 1 teaspoon paprika
- 1 teaspoon salt
- ½ teaspoon black pepper
- ¼ cup grated Parmesan cheese (optional)
- Cooking oil spray
Instructions
- Preheat the oven to 425°F (220°C) and line a baking sheet with parchment paper.
- Set up a breading station: Place the flour, beaten eggs, and panko mixture in separate shallow bowls.
- Dredge each shrimp in flour, shaking off the excess.
- Dip the floured shrimp into the beaten eggs, allowing excess egg to drip off.
- Coat the shrimp in the panko breadcrumb mixture, pressing to adhere.
- Lay the breaded shrimp in a single layer on the baking sheet.
- Lightly spray the shrimp with cooking oil spray.
- Bake for 12-15 minutes or until golden brown and cooked through.
- Serve immediately while hot for the best texture and flavor.
Notes
Use quality panko breadcrumbs for a lighter texture. Optional Parmesan adds flavor. Avoid overcrowding shrimp on the baking sheet.