📑 Table of Contents ▶
- The Essentials of Korean Tuna Pancakes
- Fundamentals
- Preparation/setup
- Directions
- Techniques for Perfect Korean Tuna Pancakes
- Technique
- Tips/tricks
- Perfecting Your Korean Tuna Pancakes
- Perfecting results
- Troubleshooting/variations
- Serving and Storing Your Korean Tuna Pancakes
- Serving/presentation
- Pairings/storage
- Conclusion
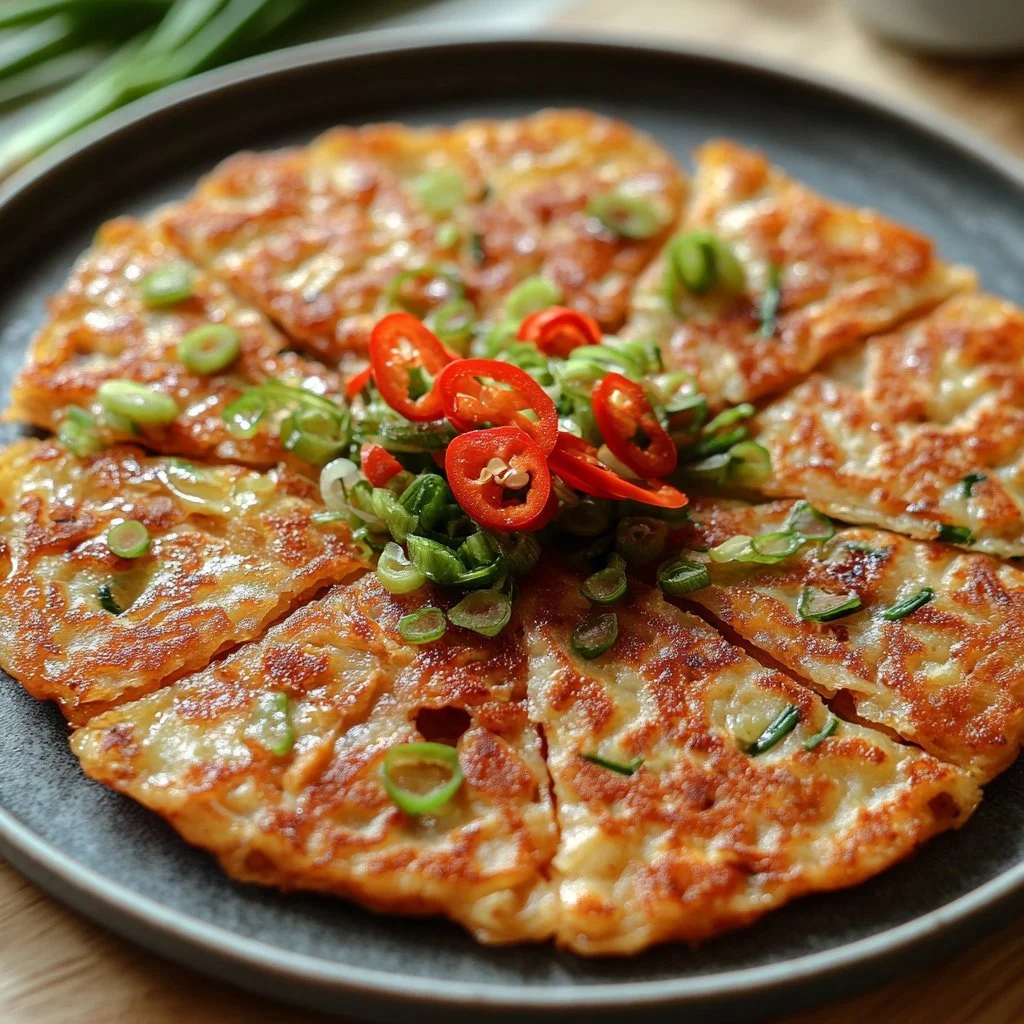
Korean Tuna Pancakes (Chamchijeon)
Tuna pancakes, or Chamchijeon, hold a special place in many households. They remind me of gatherings where the aroma of frying fish filled the kitchen. I have vivid memories of my family coming together to enjoy crispy bites of these delicious pancakes, each one loaded with flavors. The beauty of Chamchijeon lies in its simplicity, transforming a humble can of tuna into something memorable.
Cooking these pancakes offers a delightful combination of flavors and textures. The crispy exterior contrasts beautifully with the tender, savory filling. The thrill of watching them bubble in the skillet adds to the excitement. This dish serves as a perfect way to showcase how convenient and satisfying a quick meal can be.
Whether for a weeknight dinner or a midday snack, Chamchijeon offers a quick and easy dinner option. The best part? You can whip them up using everyday pantry staples. Reliving those culinary moments while making Korean tuna pancakes brings joy to the kitchen and warmth to the heart.
The Essentials of Korean Tuna Pancakes
Fundamentals
Korean tuna pancakes are all about balance. The combination of ingredients brings out the tuna’s umami flavor, making this dish a crowd-pleaser. It’s easy to prepare and cook, and best of all, it requires minimal prep time. This makes it an ideal choice for busy weeknights, when you want something delicious without spending hours in the kitchen.
Using a can of tuna simplifies the process. You eliminate the need for extensive seafood preparation. Plus, canned tuna is packed with protein and is budget-friendly. The basic structure of Chamchijeon consists of just a few core ingredients, allowing you to enjoy crispy pancakes without unnecessary fuss.
Preparation/setup
Begin by gathering everything you need: a can of tuna, flour, water, an egg, a green onion, salt, pepper, and oil for frying. With these ingredients on hand, the cooking process becomes streamlined and efficient. Make sure the tuna is well-drained to prevent the pancakes from becoming soggy.
Set up your kitchen by ensuring you have a skillet ready for frying. Preheat the skillet and add a generous amount of oil. The goal is to achieve a perfect golden-brown crust that delivers that sought-after crunch. The sizzling sound as the batter hits the hot oil signals the start of something delicious.
Ingredients
Creating Korean tuna pancakes requires the following:
- 1 can of tuna, drained
- 1 cup flour
- 1/2 cup water
- 1 egg
- 1 green onion, chopped
- Salt, to taste
- Pepper, to taste
- Oil, for frying
These ingredients combine beautifully, creating a batter that holds everything together while allowing the tuna to shine through.
Directions
In a bowl, mix together the drained tuna, flour, water, egg, chopped green onion, salt, and pepper until well combined. Ensure that the texture is consistent and that all ingredients meld nicely. Heat oil in a skillet over medium heat, creating a sizzling environment for your pancakes to fry.
Pour a ladleful of the batter into the skillet and spread it out slightly. Cook for 3-4 minutes on each side until you see a golden brown hue. This is where the magic happens. The oil helps achieve that rich, crispy texture that makes each bite irresistible.
Once cooked, remove the pancakes from the skillet and repeat the process with the remaining batter. Serve warm with a dipping sauce of your choice for an added zing.
Techniques for Perfect Korean Tuna Pancakes
Technique
Achieving the perfect tuna pancake relies on technique and timing. Start by whisking the batter thoroughly to incorporate air; this will lighten the final product. When frying, don’t overcrowd the pan; allow space between each pancake for even cooking.
Monitor the heat on your skillet. Too high, and the pancakes might burn on the outside while remaining raw inside. Too low, and the pancakes won’t crisp up. Maintain a consistent, medium heat for the best results.
Tips/tricks
Add a dash of creativity by experimenting with ingredients. Incorporating finely chopped vegetables like bell peppers or carrots can enhance the nutritional value. Adjust the seasoning according to your palate; a touch of garlic powder can elevate the flavor profile.
If you want to make mini pancakes for bite-sized snacks, simply reduce the amount of batter you pour into the skillet. This way, you can serve them as appetizers at gatherings or quick snacks when hunger strikes.
Perfecting Your Korean Tuna Pancakes
Perfecting results
Once you master the basic recipe, you can enhance your Chamchijeon experience. For a richer flavor, consider using seasoned flour or adding herbs like parsley or cilantro to the batter. This will elevate the flavor profile and add a fresh twist.
Achieving the ideal pancake involves practice, particularly in getting the right balance between crispiness and tenderness. Don’t shy away from adjusting your cooking times. The more you make these pancakes, the more you’ll understand the nuances of your skillet and stove.
Troubleshooting/variations
If you find the pancakes are falling apart, it might be due to the batter being too watery. Make sure to drain the tuna thoroughly and measure the water carefully. Conversely, if you find the pancakes too dry, a little extra water can help.
You can also adapt Chamchijeon to suit different dietary preferences. For a gluten-free option, try substituting regular flour with almond flour or a gluten-free flour blend. The texture will differ slightly, but the classic flavors will still shine through.
Serving and Storing Your Korean Tuna Pancakes
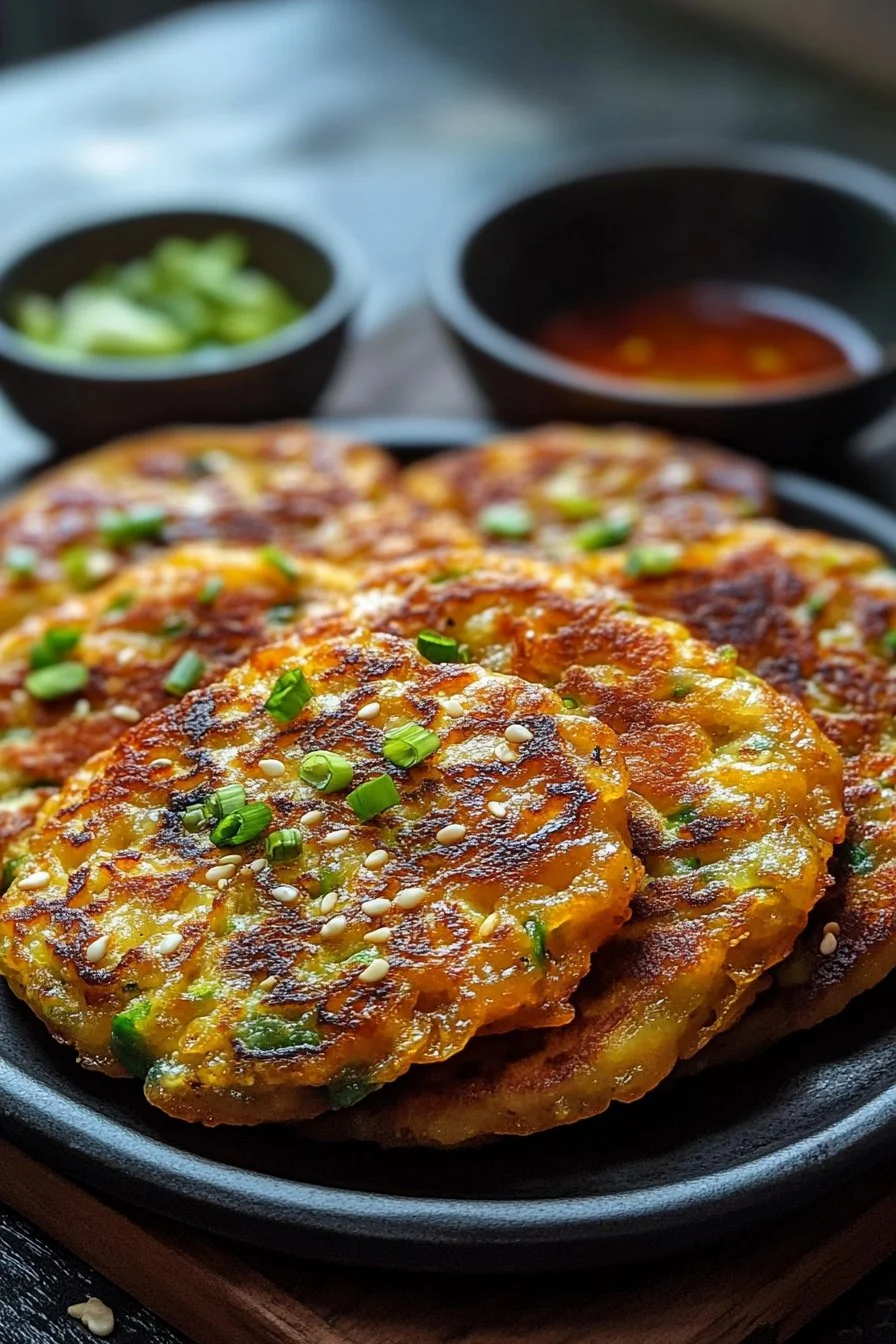
Serving/presentation
Presenting your tuna pancakes can be just as enjoyable as making them. Stack them on a plate and garnish with fresh herbs or additional sliced green onions. This adds a pop of color and freshness, enticing everyone to dig in.
Pair the pancakes with a simple dipping sauce made from soy sauce and sesame oil. This complements the savory flavor of the pancakes and ties the meal together beautifully.
Pairings/storage
Korean tuna pancakes serve wonderfully alongside a side salad for a full meal. They transition effortlessly from a hearty lunch to a delightful dinner option.
If you have leftovers, store them in an airtight container in the refrigerator for up to three days. To reheat, just pop them in a skillet with a little oil to maintain their crispiness, or use an air fryer for a quick, healthier option.
Conclusion
Korean tuna pancakes offer a delicious and effortless remedy for busy meals. These crispy delights transform a simple can of tuna into a beloved dish. Whether shared with family or enjoyed solo, Chamchijeon always satisfies. With just a few ingredients and a little time, you can create a dish that not only fills the stomach but also warms the heart. Enjoy every crispy bite, reliving the joy of this comforting favorite.
Print
Korean Tuna Pancakes (Chamchijeon)
- Prep Time: 10 minutes
- Cook Time: 15 minutes
- Total Time: 25 minutes
- Yield: 4 servings
- Category: Main Course
- Method: Frying
- Cuisine: Korean
- Diet: None
Description
Crispy Korean tuna pancakes that transform a humble can of tuna into a flavorful dish, perfect for quick weeknight dinners.
Ingredients
- 1 can of tuna, drained
- 1 cup flour
- 1/2 cup water
- 1 egg
- 1 green onion, chopped
- Salt, to taste
- Pepper, to taste
- Oil, for frying
Instructions
- In a bowl, mix together the drained tuna, flour, water, egg, chopped green onion, salt, and pepper until well combined.
- Heat oil in a skillet over medium heat.
- Pour a ladleful of the batter into the skillet and spread it out slightly.
- Cook for 3-4 minutes on each side until golden brown.
- Remove the pancakes from the skillet and repeat the process with the remaining batter.
- Serve warm with a dipping sauce of your choice.
Notes
For added flavor, try incorporating finely chopped vegetables or herbs into the batter.