
📑 Table of Contents ▶
Grilled Cheese Burrito
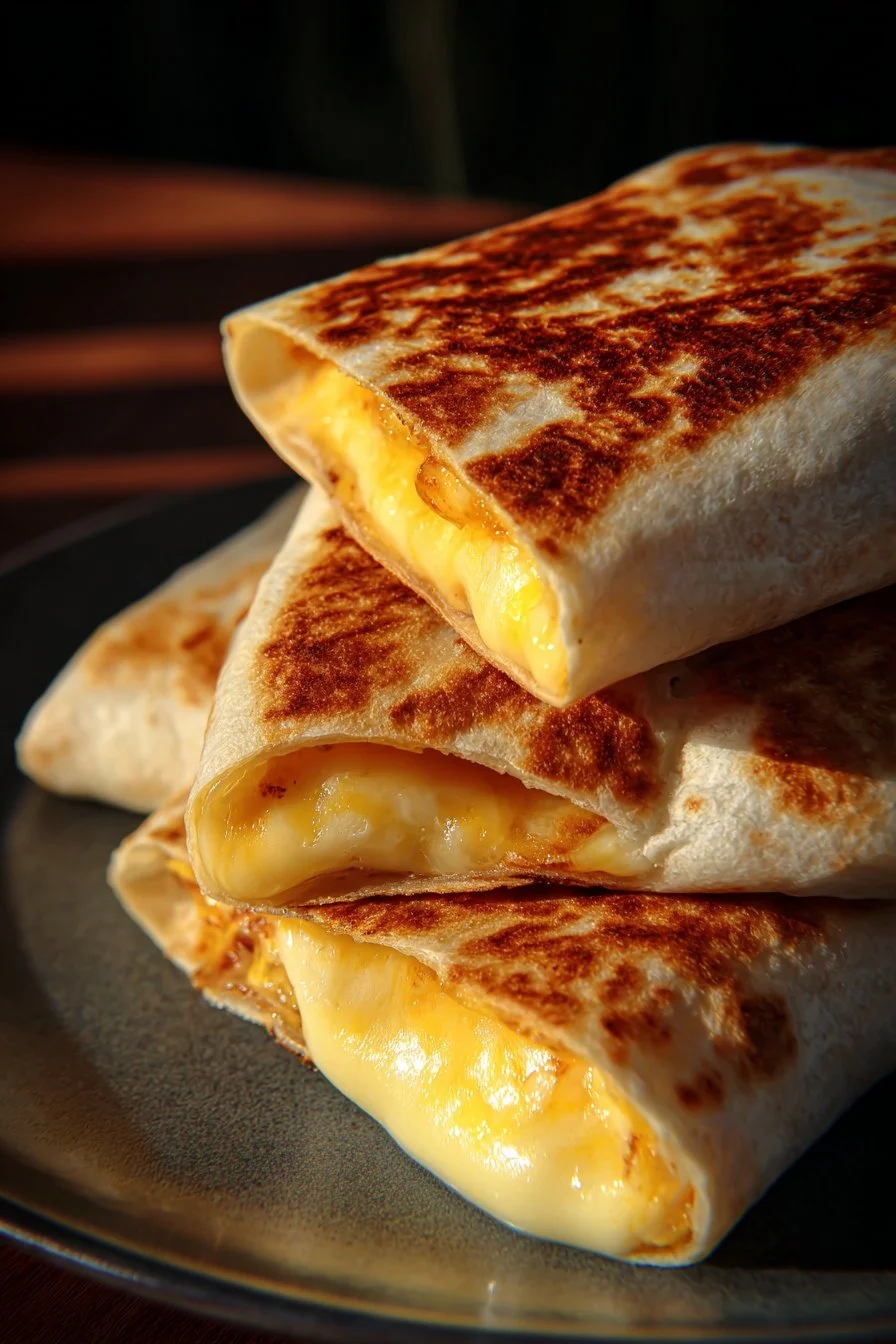
Everyone loves a good burrito, especially when it has that crispy, cheesy exterior and delicious filling. Creating a Grilled Cheese Burrito brings two incredible comfort foods together: burritos and grilled cheese sandwiches. It’s a match made in culinary heaven, perfect for busy nights or when you want to treat yourself.
As a mom constantly juggling meals and schedules, I find comfort in quick, flavorful recipes that don’t compromise on taste. The idea of a Grilled Cheese Burrito bloomed from the need for a satisfying meal that keeps everyone happy. It’s amazing how just a few ingredients can transform into something extraordinary. The crispy outer layer paired with the warm and cheesy inside creates that delicious crunch we all crave.
When you bite into this burrito, you get the best of both worlds with seasoned beef, creamy sauces, and melty cheese. It’s a crowd-pleaser that sparks joy around the dinner table. At its heart, this recipe champions the idea that great food doesn’t have to take hours in the kitchen. Let’s dive into the details of making your own Grilled Cheese Burrito for a delightful and satisfying meal.
Grilled Cheese Burrito Fundamentals
Fundamentals
To kickstart your Grilled Cheese Burrito adventure, you need to understand the core elements of this dish. The foundation consists of ground beef, taco seasoning, rice, and a medley of delicious cheeses. These components work together to create not just a meal, but a flavor experience.
Choosing quality ingredients maximizes flavor and texture. Opt for a lean ground beef to minimize grease without losing richness. If you prefer, you can easily whip up your own taco seasoning using spices you likely already have in your pantry. This allows for customization to suit your family’s taste preferences.
Understanding how the ingredients meld together is vital. The seasoned beef adds a robust flavor that pairs perfectly with the creamy sour cream and nacho cheese sauce. The addition of chipotle sauce brings a smoky heat that balances the creaminess, creating a well-rounded dish.
Preparation/Setup
Prep is key when making the Grilled Cheese Burrito. Start by browning the ground beef in a skillet over medium heat for about 8–10 minutes. Ensure you drain any excess grease, allowing the flavors of the taco seasoning to shine. After adding the seasoning and a bit of water, let it simmer, allowing the spices to envelop the beef.
Meanwhile, prepare your tortillas by warming them in a dry skillet or microwave. This step makes it easier to roll and prevent tearing. When they’re pliable, you’re ready to start layering your burrito.
Setting up your workstation can make the assembly process smoother. Lay out all your ingredients in an orderly fashion—tortillas, cooked rice, seasoned beef, cheesy sauces, and shredded cheeses. This organization makes it simple to grab everything you need without fumbling in the kitchen.
Ingredients
Gather the following ingredients to make your Grilled Cheese Burrito come to life:
- 1 lb ground beef
- 1 packet taco seasoning (or homemade blend)
- 1 cup cooked white rice
- 1/2 cup sour cream
- 1/2 cup nacho cheese sauce
- 1/4 cup chipotle sauce
- 1 cup shredded cheddar cheese
- 1 cup shredded mozzarella
- 4 large flour tortillas
- Butter or oil for grilling
These ingredients strike a perfect balance between flavors and textures. The combination of cheesiness plus smoky chipotle sauce elevates the dish, making it a favorite among family and friends.
Directions
-
In a skillet over medium heat, brown the ground beef until cooked through, approximately 8–10 minutes. Drain excess grease, add taco seasoning and 1/4 cup water, and let simmer for about 5 minutes.
-
Warm tortillas in a dry skillet or microwave until they are pliable.
-
Lay a tortilla flat and layer with cooked rice, seasoned beef, nacho cheese sauce, chipotle sauce, sour cream, and top with cheddar and mozzarella.
-
Melt 2 tablespoons of shredded cheese in the skillet, place the burrito seam-side down, and grill for 3–4 minutes on each side until the cheese melts and forms a crispy crust.
-
Serve with more sour cream and enjoy!
Grilled Cheese Burrito Techniques
Technique
Perfecting the Grilled Cheese Burrito requires attention to technique. Mastering the grilling process ensures a crispy exterior while keeping the inside gooey and flavorful. Use enough heat to create a golden crust without burning the tortilla.
Utilizing a skillet allows for even cooking. Coating the pan with butter or oil prevents sticking while contributing to the crispiness. Consider using a weight, like another skillet or a heavy pan, to apply gentle pressure, creating an evenly grilled burrito.
If you’re feeling adventurous, experimenting with different fillings can give your burrito a unique twist. Try adding black beans, corn, or even sautéed veggies to increase flavor and nutrition.
Tips/Tricks
To make the most out of your Grilled Cheese Burrito, keep a few tips and tricks in your back pocket. When assembling the burrito, don’t overfill it. Keeping a modest quantity of fillings allows for easier rolling and better cooking.
Another tip is to pre-shred your cheese. Freshly shredded cheese melts more easily and creates a creamier texture. Alternatively, you could use pre-packaged cheese for convenience, just be mindful of the added ingredients that can affect melting.
Grilling the burrito seam-side down first helps lock in all those delicious fillings. Ensure you check frequently to prevent browning too quickly, adjusting heat as needed.
Mastering the Grilled Cheese Burrito
Perfecting Results
Achieving the ultimate Grilled Cheese Burrito comes down to mastering your cooking method. Monitor the grill closely, flipping only when a crispy crust forms. This careful attention will yield that satisfying crunch while keeping the inside decadent.
If you find your burritos aren’t crispy enough, don’t hesitate to add a little extra butter or oil to the pan. Alternatively, consider using a broiler for a few minutes post-grilling to impart additional crispiness.
Experiment with grilling times as some pans retain heat differently. Adjust to discover your perfect grilling time; it varies based on the thickness of your burrito and the strength of your burner.
Troubleshooting/Variations
While Grilled Cheese Burritos are hearty and forgiving, there can be hiccups. If you encounter soggy burritos, it can stem from overly wet fillings or insufficient grilling time. Make sure you drain any excess moisture from ingredients, especially if using cooked vegetables.
For variations, switch up the protein or cheese combinations. Ground turkey or chicken can replace beef, providing lighter alternatives without sacrificing flavor. A blend of pepper jack cheese could add a spicy kick, appealing to those who enjoy a bit of heat.
Consider using whole-wheat tortillas for a healthier spin or experimenting with different sauces for unique flavors. Each variation offers the chance to customize the experience to your liking.
Serving Your Grilled Cheese Burrito
Serving/Presentation
Serving your Grilled Cheese Burrito right can enhance the entire dining experience. Slice each burrito diagonally to showcase the delicious layers inside. Arrange on a vibrant plate and drizzle with extra chipotle or nacho cheese sauce for a bold presentation.
Garnish with fresh cilantro or green onions to add freshness and color. Pairing with sides like a simple green salad or tortilla chips elevates your meal while providing texture contrasts.
Pairings/Storage
While the Grilled Cheese Burrito is delicious on its own, consider pairing it with fresh guacamole or a zesty pico de gallo for added flavor. These sides complement the richness of the burrito and enhance the overall experience.
If you happen to have leftovers, store them suitably. Wrap burritos tightly in foil or plastic wrap to keep them from drying out. Reheat in an oven to retain the crispness of the exterior while warming the filling thoroughly.
Explore other sides that complement the burrito’s flavors. Think beans, rice, or a simple salsa—endless options await!
Wrapping up the Grilled Cheese Burrito journey, this recipe encapsulates comfort and flavor, ensuring a satisfying meal any night of the week. With a little preparation and creativity, you can easily wow your family with this delightful fusion. Enjoy every crispy bite.
Print
Grilled Cheese Burrito
- Prep Time: 15 minutes
- Cook Time: 15 minutes
- Total Time: 30 minutes
- Yield: 4 servings
- Category: Main Course
- Method: Grilling
- Cuisine: Mexican
- Diet: None
Description
A delightful fusion of burritos and grilled cheese sandwiches, featuring a crispy exterior and cheesy filling.
Ingredients
- 1 lb ground beef
- 1 packet taco seasoning (or homemade blend)
- 1 cup cooked white rice
- 1/2 cup sour cream
- 1/2 cup nacho cheese sauce
- 1/4 cup chipotle sauce
- 1 cup shredded cheddar cheese
- 1 cup shredded mozzarella
- 4 large flour tortillas
- Butter or oil for grilling
Instructions
- In a skillet over medium heat, brown the ground beef until cooked through, approximately 8–10 minutes. Drain excess grease, add taco seasoning and 1/4 cup water, and let simmer for about 5 minutes.
- Warm tortillas in a dry skillet or microwave until they are pliable.
- Lay a tortilla flat and layer with cooked rice, seasoned beef, nacho cheese sauce, chipotle sauce, sour cream, and top with cheddar and mozzarella.
- Melt 2 tablespoons of shredded cheese in the skillet, place the burrito seam-side down, and grill for 3–4 minutes on each side until the cheese melts and forms a crispy crust.
- Serve with more sour cream and enjoy!
Notes
For a healthier variation, consider using whole-wheat tortillas and customize your protein or cheese options.