
📑 Table of Contents ▶
Canned Tuna Poke Bowl
Finding quick and healthy meals can feel impossible, especially when balancing a busy lifestyle. The inspiration for the canned tuna poke bowl sprang from a moment of necessity. After a long day full of activities, I realized I had little time to prepare dinner. Scanning my pantry, a can of tuna caught my eye, accompanied by some leftover rice and a few fresh vegetables.
Creating a poke bowl with canned tuna became a delightful culinary adventure. I paired the tuna with creamy avocado, crisp cucumber, and vibrant green onions. The combination not only satisfied my hunger but also ignited my passion for nutritious cooking. The simple yet flavorful mix of ingredients transformed an ordinary dinner into something exciting and delicious.
The best part? This meal isn’t just quick; it’s also packed with nutrients. Using canned tuna creates an easy, protein-rich base while incorporating fresh veggies adds essential vitamins. Preparing a canned tuna poke bowl gives you a wholesome meal while allowing room for creativity. You can customize it with your favorite toppings or sides, making it a versatile dish for any occasion.
Canned Tuna Poke Bowl Fundamentals
Fundamentals
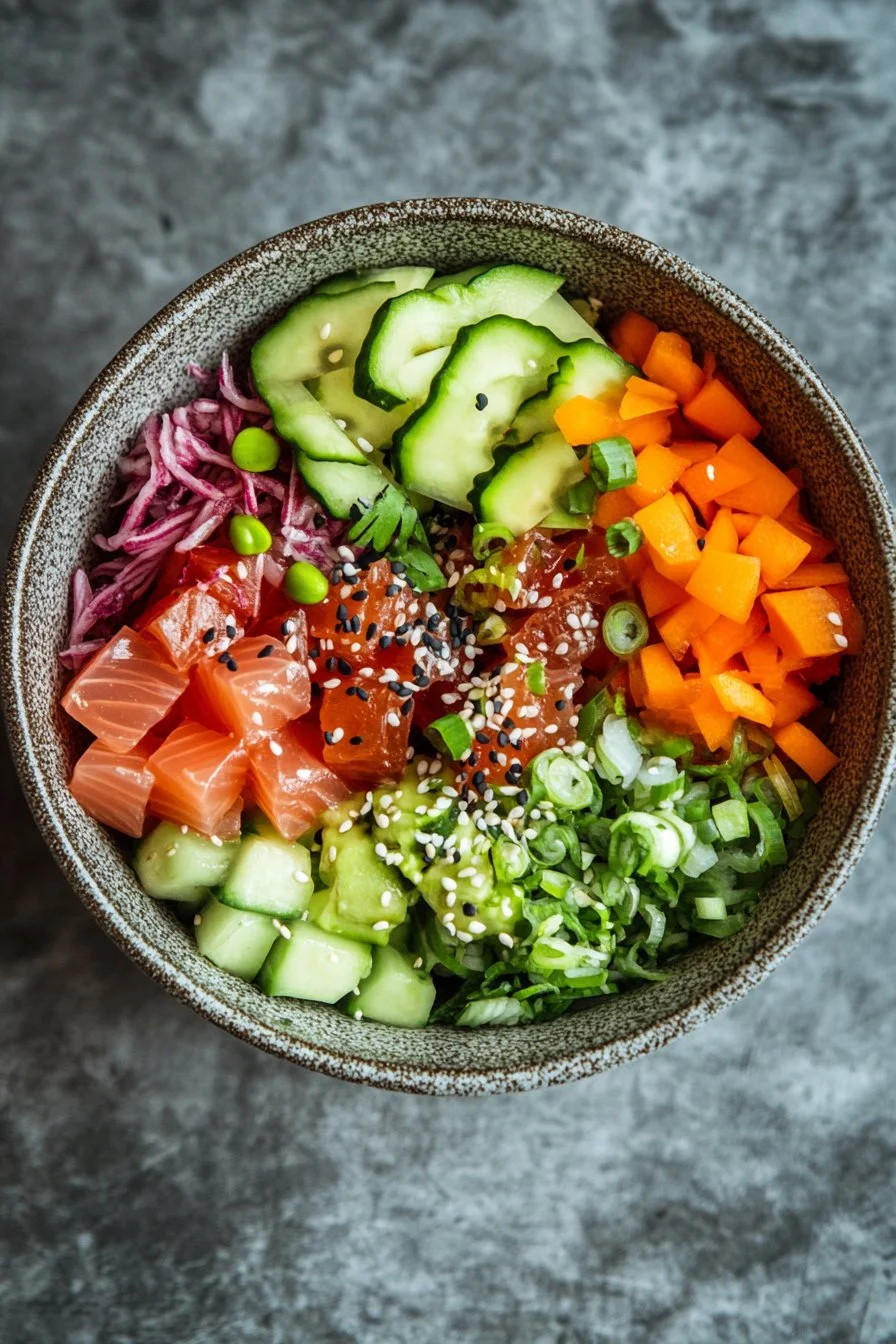
The canned tuna poke bowl embodies simplicity, flavor, and health. It’s one of those dishes that showcases how you can create a gourmet experience using everyday ingredients. The rich taste of tuna pairs wonderfully with the textures of creamy avocado and crunchy cucumber. Each bite offers a burst of freshness that delights the palate.
This dish captures the essence of poke bowls by combining contrasting flavors and textures. The creamy avocado balances the savory tuna and the crunchy vegetables provide a satisfying crunch. The addition of sesame oil and soy sauce introduces depth, bringing all elements together harmoniously.
Preparation/setup
Preparing your canned tuna poke bowl starts with gathering your ingredients. You’ll need a can of drained tuna, cooked rice, and an assortment of fresh veggies. Having everything prepped and within reach streamlines your process. Begin by mixing the tuna with soy sauce, sesame oil, and rice vinegar in a bowl, allowing the flavors to meld beautifully.
Next, set the stage for your poke bowl by placing the cooked rice at the bottom of your serving bowl. This acts as a hearty foundation for the dish. Then, arrange the marinated tuna on top of the rice, letting it soak into the warm layers beneath.
Ingredients
To create this vibrant dish, use the following ingredients:
- 1 can of tuna, drained
- 1 cup cooked rice (white or brown)
- 1/2 avocado, sliced
- 1/2 cup cucumber, diced
- 1/4 cup green onions, chopped
- 2 tablespoons soy sauce
- 1 tablespoon sesame oil
- 1 teaspoon rice vinegar
- Seaweed (nori) for garnish
- Sesame seeds for garnish
Directions
- In a bowl, mix the drained tuna with soy sauce, sesame oil, and rice vinegar.
- Prepare a serving bowl by placing the cooked rice at the bottom.
- Arrange the marinated tuna on top of the rice.
- Top with sliced avocado, diced cucumber, and chopped green onions.
- Garnish with seaweed and sesame seeds.
- Serve immediately and enjoy!
Canned Tuna Poke Bowl Technique
Technique
Mastering the canned tuna poke bowl comes down to technique. The way you mix the tuna significantly influences the overall flavor. Gently combine the tuna with the soy sauce, sesame oil, and rice vinegar. Avoid overmixing, as you want to keep some texture.
When layering your poke bowl, pay attention to presentation. Arrange the ingredients in a visually appealing manner; this makes each bite special. Start with a base of rice, then neatly place the tuna and vegetables to create an inviting look.
Tips/tricks
Enhancing your poke bowl experience can be as simple as being mindful of ingredient quality. Opt for high-quality canned tuna to ensure your dish tastes fresh. You can enhance flavors with selected toppings, like spicy mayo or additional sesame oil, if you like a bit of heat.
Don’t forget about garnishing! A sprinkle of sesame seeds and pieces of seaweed elevate not just the flavor but also the visual appeal. Enjoy this dish guilt-free—it’s nutritious and satisfying without heavy oils or frying.
Canned Tuna Poke Bowl Variations
Perfecting results
Directly perfecting your canned tuna poke bowl can take time and practice. Experiment with different types of rice or even quinoa for a twist. Additionally, you can play with the proportions of tuna and veggies—adjust to your personal preference.
Deliver stunning flavor by adding extra toppings like pickled ginger or spicy mayo for those who crave heat. Each variation can lead to a delightful outcome, keeping your meals exciting.
Troubleshooting/variations
Should you find yourself short on certain ingredients, don’t fret! This recipe is adaptable. Try substituting the cucumber with bell peppers or the green onions with fresh herbs such as cilantro or parsley.
If you prefer a vegetarian option, chickpeas or tofu could work as protein alternatives. For an even lighter dish, you can switch out rice for shredded cabbage or salad greens, making it a refreshing poke bowl variation.
Canned Tuna Poke Bowl Serving/Presentation
Serving/presentation
Serving a tuna poke bowl is all about presentation. After preparing each component, take a moment to assemble everything artistically. The vibrant colors of the avocado, cucumber, and the deep hues of the tuna create an eye-catching dish. You can serve the poke bowl in a wide, shallow bowl to enhance the visual appeal.
Adding garnishes like sliced seaweed and sesame seeds not only enriches the flavor but also creates an inviting presentation. Consider serving with chopsticks or a fork to complete the experience.
Pairings/storage
Your canned tuna poke bowl is perfect for various pairings. Simple, fresh sides like edamame or a light salad can complement it beautifully without overwhelming the main dish. For a heartier meal, consider incorporating miso soup or a lightly dressed green salad.
Don’t forget about storage! If you prepare extra portions, store the components separately in airtight containers. Keep the rice and tuna refrigerated and combine before serving to maintain freshness. The key is to enjoy this dish at its best, keeping it flavorful and vibrant.
Conclusion
The canned tuna poke bowl offers a deliciously satisfying meal without extensive preparation time. It exemplifies how simple ingredients can come together to create a nutritious and flavorful dish. The vibrant colors and fresh flavors not only appeal visually but also satisfy taste buds, making it a go-to choice for busy evenings. Enjoy every bite of this delightful poke bowl!
Print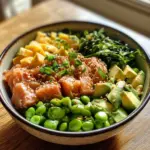
Canned Tuna Poke Bowl
- Prep Time: 10 minutes
- Cook Time: 0 minutes
- Total Time: 10 minutes
- Yield: 2 servings
- Category: Main Course
- Method: No-Cook
- Cuisine: Japanese
- Diet: High Protein
Description
A quick and healthy poke bowl featuring canned tuna, fresh vegetables, and a flavorful marinade.
Ingredients
- 1 can of tuna, drained
- 1 cup cooked rice (white or brown)
- 1/2 avocado, sliced
- 1/2 cup cucumber, diced
- 1/4 cup green onions, chopped
- 2 tablespoons soy sauce
- 1 tablespoon sesame oil
- 1 teaspoon rice vinegar
- Seaweed (nori) for garnish
- Sesame seeds for garnish
Instructions
- In a bowl, mix the drained tuna with soy sauce, sesame oil, and rice vinegar.
- Prepare a serving bowl by placing the cooked rice at the bottom.
- Arrange the marinated tuna on top of the rice.
- Top with sliced avocado, diced cucumber, and chopped green onions.
- Garnish with seaweed and sesame seeds.
- Serve immediately and enjoy!
Notes
Opt for high-quality canned tuna for the best flavor. Customize with toppings like spicy mayo for a kick.