📑 Table of Contents ▶
- Air Fryer Split Chicken Breast
- Mastering the Art of Cooking Air Fryer Split Chicken Breast
- Fundamentals
- Preparation/Setup
- Achieving the Perfect Air Fryer Crispy Chicken Breast
- Technique
- Tips/Tricks
- Perfecting Your Air Fryer Chicken Breast
- Perfecting Results
- Troubleshooting/Variations
- Serving and Storing Your Air Fryer Chicken Breast
- Serving/Presentation
- Pairings/Storage
- Conclusion
- FAQs – Air Fryer Split Chicken Breast
As a health-conscious foodie and a busy mom constantly trying to balance nourishing meals with a packed family schedule, I found myself stuck in the same struggle many face: how to make quick, delicious meals without relying on greasy pans or deep-frying. I didn’t want to give up my favorite comfort foods—crispy fries, golden chicken, flaky pastries—but I did want to serve better-for-you versions to my family.
That’s when I discovered the air fryer, and everything changed. What started as late-night kitchen experiments soon became an obsession. I began transforming classic dishes into lighter, air-fried versions—without sacrificing taste, texture, or joy. Fries that didn’t require gallons of oil. Wings that stayed juicy inside and perfectly crisp on the outside. Even warm, sweet donuts that didn’t leave you feeling guilty.
Friends and family started asking for recipes. Then, strangers online. I realized I wasn’t alone in this craving for smarter, faster, tastier food—and so Fryero was born. At Fryero, I share the best air fryer recipes I’ve created and perfected: from satisfying mains and snackable sides to sweet treats and healthy staples. My goal is simple—to help you make meals that look indulgent but feel light, using the magic of your air fryer.
Whether you’re brand new to air frying or you’re already hooked, Fryero is your space to learn, explore, and fall in love with cooking all over again—one crispy bite at a time.
Print
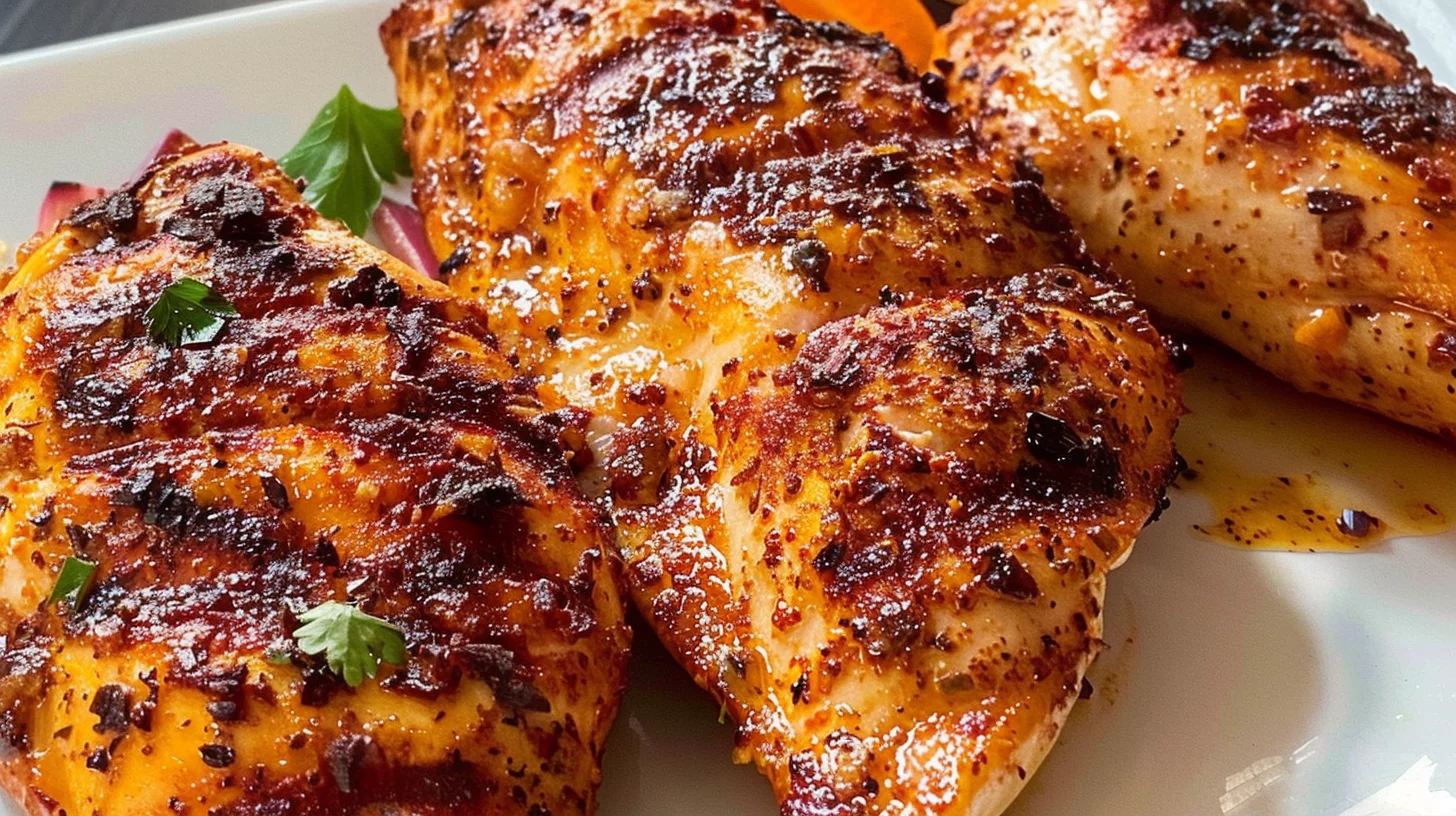
Air Fryer Split Chicken Breast
- Prep Time: 15 minutes
- Cook Time: 20 minutes
- Total Time: 35 minutes
- Yield: 2 servings
- Category: Main Course
- Method: Air Frying
- Cuisine: Various
Description
Discover how to make juicy and flavorful Air Fryer Split Chicken Breasts with our easy recipe. Perfect for a quick and delicious meal!
Ingredients
- 2 Chicken Breasts (500g)
- 1 tablespoon olive oil (15 ml)
- 1 teaspoon sea salt (5g)
- 1/2 teaspoon cracked black pepper (1.5g)
- 1/2 teaspoon garlic powder (1.5g)
- 1/2 teaspoon paprika (1.5g) smoked paprika works well too
- your favorite seasoning blend optional
Instructions
- Set your air fryer to preheat at 375°F (190°C).
- Wash the chicken breasts with cold water, then use paper towels to dry them off. This process ensures the skin becomes crispy as it cooks.
- Pour the olive oil over the chicken breasts, ensuring they are thoroughly coated. Next, sprinkle both sides with sea salt, cracked black pepper, garlic powder, and paprika. Feel free to modify the seasoning to your preference.
- Gently arrange the seasoned chicken pieces in the air fryer basket, ensuring they are not too close to each other. For optimal results, place them with the skin facing upwards.
- To confirm the chicken is fully cooked, use an instant-read thermometer to measure the temperature at the thickest part of the breast. It should register at 165°F (74°C) for poultry. If necessary, allow additional cooking time.
- After the chicken breasts have finished cooking, take them out of the air fryer, cover with aluminum foil, and let them sit for a few minutes. This resting period helps the juices settle, ensuring the meat remains juicy. Cut, serve, and enjoy!
Notes
- Experiment with various seasoning blends to customize the chicken’s flavor to your preference. Try using smoked paprika for a distinct and smoky taste. Remember to let the chicken breasts rest post-cooking for optimal juiciness and tenderness. Use an instant-read thermometer to ensure the chicken reaches a safe internal temperature of 165°F (74°C).
Mastering the Art of Cooking Air Fryer Split Chicken Breast
Fundamentals
Cooking air fryer split chicken breast is a culinary art that combines the crispy texture of frying with the health benefits of air cooking. The air fryer has revolutionized how we approach traditional recipes, making it possible to enjoy crispy chicken without the excess oil. By understanding the basics, you can achieve perfectly cooked chicken every time.
Start by ensuring you have fresh chicken breasts, preferably with the skin on to enhance the crispiness. The key is to use minimal oil and let the air fryer do the rest. The combination of sea salt, cracked black pepper, garlic powder, and paprika creates a flavorful crust that seals in the juices.
Preparation/Setup
Before you begin, set your air fryer to preheat at 375°F (190°C). Preheating ensures that the chicken starts cooking immediately, promoting even browning. Wash the chicken breasts under cold water and pat them dry with paper towels. This step is crucial for achieving a crispy skin.
Coat the chicken breasts thoroughly with olive oil. Even distribution of the oil helps the seasonings adhere better and contributes to a more even cook. Generously sprinkle both sides with your seasoning mix. Feel free to add a favorite seasoning blend for an extra kick.
Achieving the Perfect Air Fryer Crispy Chicken Breast
Technique
To achieve a perfectly crispy air fryer chicken breast, place the seasoned chicken in the air fryer basket with the skin facing upwards. This positioning helps the skin become crispy as the hot air circulates evenly around the chicken. Make sure the pieces are not crowded to allow proper air circulation.
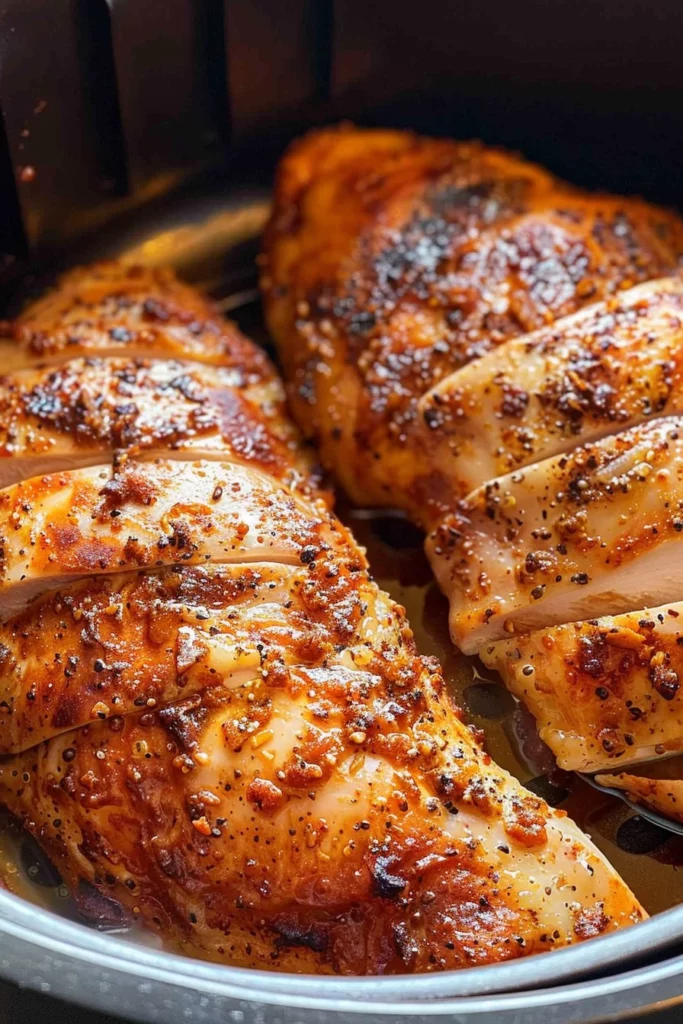
Air Fryer Split Chicken Breast
Cook the chicken until the internal temperature reaches 165°F (74°C). Use an instant-read thermometer to check the thickest part of the breast. This step ensures the chicken is fully cooked and safe to eat. If needed, extend the cooking time in short increments to avoid overcooking.
Tips/Tricks
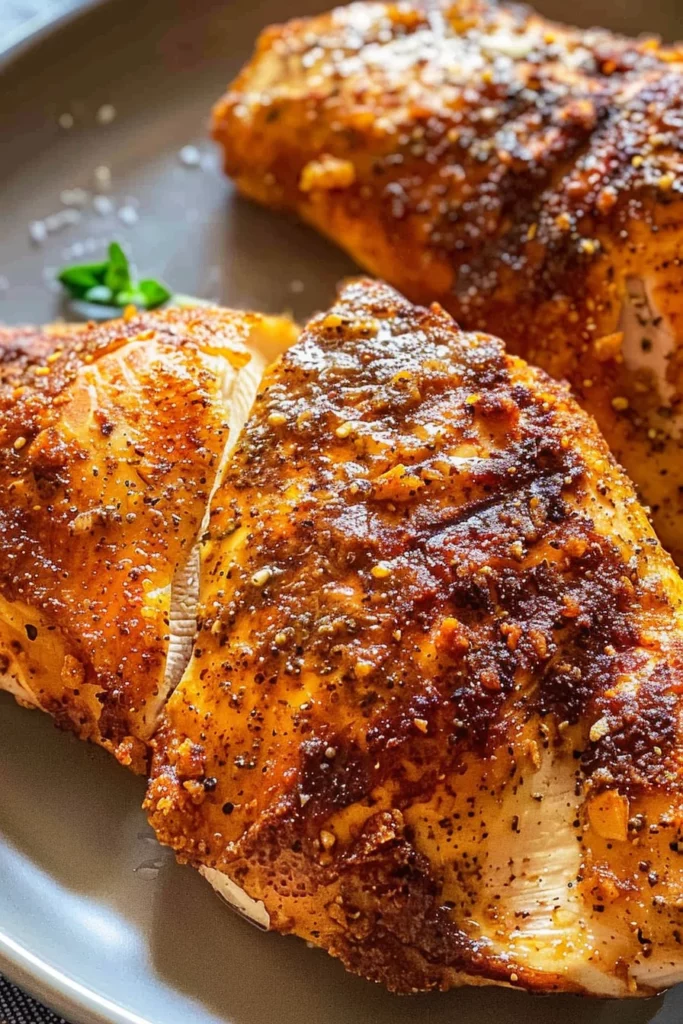
For an extra crispy finish, consider using smoked paprika. It not only adds depth of flavor but also enhances the visual appeal with a richer color. If you’re experimenting, try adding a dash of lemon zest for a refreshing twist. Remember, the key is to balance flavors without overpowering the natural taste of the chicken.
Allow the chicken to rest under aluminum foil for a few minutes after cooking. This resting period lets the juices redistribute, ensuring each bite is juicy. If you’re interested in exploring more techniques, check out this crispy air fryer chicken chop bites recipe for additional inspiration.
Perfecting Your Air Fryer Chicken Breast
Perfecting Results
Perfecting air fryer chicken breast involves attention to detail and a willingness to experiment with flavors. The use of smoked paprika or a favorite seasoning blend can elevate your dish from great to exceptional. Consistency in preparation and cooking time will ensure that each attempt results in delicious, crispy chicken.
One way to enhance your chicken is by experimenting with marinades before air frying. Marinating the chicken breasts for a few hours can infuse additional flavors. However, make sure to pat them dry before applying the olive oil and seasoning to maintain the desired crispiness.
Troubleshooting/Variations
If your chicken isn’t achieving the desired level of crispiness, consider preheating the air fryer longer or adjusting the cooking time. Overcrowding the basket can also lead to uneven cooking. Always leave enough space for air to circulate.
For a different flavor profile, try adding a touch of cayenne pepper for heat or a sprinkle of herbs like thyme or rosemary. If you’re looking for more ideas, this sous vide chicken breasts with lemon, garlic, and rosemary recipe provides a unique twist that can be adapted for the air fryer.
Serving and Storing Your Air Fryer Chicken Breast
Serving/Presentation
When serving your air fryer chicken breast, presentation is key. Slice the chicken against the grain for tender pieces and arrange them on a platter. Garnish with fresh herbs or a squeeze of lemon for a vibrant, fresh look. For a complete meal, pair it with a light salad or roasted vegetables.
If you love creative comfort food, you’ll definitely want to try these crispy chicken breast in air fryer recipes — a fun twist on classic flavors. The versatility of air fryer chicken makes it suitable for any occasion, from casual dinners to family gatherings.
Air Fryer Split Chicken Breast
Pairings/Storage
Store any leftover chicken in an airtight container in the refrigerator for up to three days. Reheat in the air fryer to maintain the crispy texture. Avoid microwaving, as it can make the chicken soggy.
Pair the chicken with simple sides to let the flavors shine. Roasted vegetables or a quinoa salad complement the dish beautifully. For more pairing ideas, visit best air fryer chicken breast recipes that showcase creative combinations.
Conclusion
Mastering air fryer split chicken breast involves understanding the fundamentals, technique, and preparation. With the right balance of flavors and cooking time, you can create a dish that is both crispy and juicy. The air fryer offers a healthier alternative to traditional frying methods without compromising on taste.
The simplicity and efficiency of air frying make it an excellent choice for busy individuals seeking delicious, nutritious meals. By experimenting with different seasonings and techniques, you can tailor the dish to your preferences and impress family and friends with your culinary skills.