📑 Table of Contents ▶
Flavorful Canned Tuna Sushi Bake
Creating quick and delicious meals has always been a passion. Recently, I discovered the joy of making a canned tuna sushi bake, a dish that perfectly marries simplicity with incredible flavors. This sushi bake not only satisfies cravings but also brings a comforting warmth that’s ideal for any family gathering.
Imagine a busy afternoon when the kitchen smells like a Japanese sushi house. The simple act of pouring two cups of sushi rice and water into a pot can transport anyone. As the rice cooks, I mix a can of tuna with mayonnaise and soy sauce, effortlessly creating a savory filling. This tuna sushi bake truly proves how everyday ingredients can come together to create something special.
This dish stands out because it appeals to both sushi lovers and those new to sushi flavors. Whether you enjoy it for lunch or dinner, the convenience of a bake makes it a go-to option. With each bite, you experience layers of flavor enhanced by fresh green onions and a light drizzle of sesame oil. Embrace the simplicity of this flavorful canned tuna sushi bake, and let it become a favorite in your household.
Flavorful Canned Tuna Sushi Bake Essentials
Fundamentals
Crafting a delightful canned tuna sushi bake relies on a few essential steps. To begin, understanding the characteristics of sushi rice is crucial. Sushi rice, with its short grains, absorbs water exceptionally well and becomes sticky when cooked. This unique texture forms the perfect base for our tuna mixture.
The flavor profile derives from the canned tuna, which brings richness and a satisfying umami taste. Combining the fish with ingredients like soy sauce and sesame oil enhances the flavors further. The caramelization that occurs during baking adds a bit of crunch to the dish, providing a delightful contrast to the tender rice.
Preparation/Setup
Before diving into the cooking process, ensure your kitchen is ready. Start by preheating your oven to 350°F (175°C). While the oven warms up, rinse two cups of sushi rice under cold water until the water runs clear. This step removes excess starch, which can make the rice gummy.
In a pot, combine the rinsed sushi rice with 2 ½ cups of water. Bring this mixture to a boil, then reduce the heat, cover, and simmer for about 20 minutes. The goal is to produce perfectly cooked rice that will form the foundation of your sushi bake.
Ingredients
This recipe calls for basic ingredients that are easy to handle and healthy. Here’s what you need:
- 2 cups sushi rice
- 2 ½ cups water
- 1 can (12 oz) tuna, drained
- ¼ cup mayonnaise
- 2 tablespoons soy sauce
- 1 tablespoon rice vinegar
- 1 teaspoon sesame oil
- ½ cup chopped green onions
- 1 sheet nori, cut into strips
- Soy sauce for serving
- Wasabi and pickled ginger for garnish (optional)
Ensuring the correct proportions of ingredients allows for optimal flavor. Each component plays a crucial role in the overall taste and texture of this dish.
Directions
Once the rice is cooked, the real fun begins. Spread the warm, fluffy sushi rice evenly in a greased baking dish. The even spread ensures that every bite is delicious and satisfying. Next, in a separate bowl, mix the drained tuna with mayonnaise, soy sauce, rice vinegar, sesame oil, and chopped green onions. This mixture creates a creamy, flavorful layer that perfectly complements the rice.
Once combined, pour the tuna mixture over the rice. Spread it evenly to ensure every slice of the bake enjoys the same delightful flavors. Place the baking dish in the preheated oven. Bake for 20-25 minutes or until the dish is heated thoroughly and slightly golden on top. The golden crust adds a wonderful texture that balances the softness of the rice and tuna.
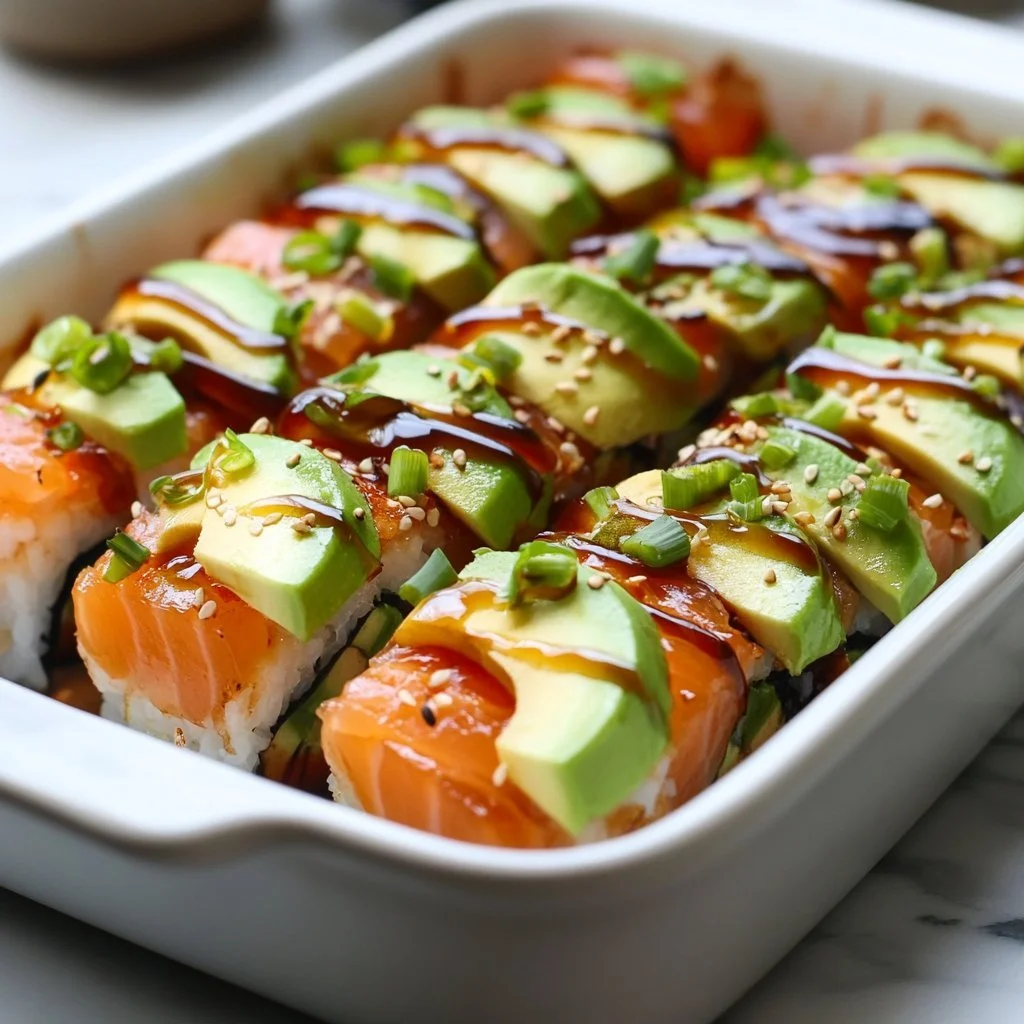
Serve the sushi bake warm, garnished with nori strips for a touch of authenticity. Offer additional soy sauce, wasabi, and pickled ginger on the side for those who want an extra punch of flavor. This dish truly comes together, presenting beautifully and tasting even better.
Mastering Your Tuna Sushi Bake
Technique
Perfecting the canned tuna sushi bake requires attention to detail. The key lies in the preparation of the sushi rice. Be patient when rinsing and cooking the rice; these steps lay the foundation for a successful dish. The sticky texture of sushi rice holds all the ingredients together, making for a perfect bite every time.
To create a crust that adds depth to each serving, consider leaving the dish in the oven for an additional few minutes. Watch closely to ensure the top does not burn; the golden brown color indicates that it’s ready to come out.
Tips/Tricks
Experimenting with the ingredients can elevate your sushi bake. For added crunch, consider topping the tuna mixture with panko breadcrumbs before baking. The breadcrumbs will toast beautifully, providing a delightful texture contrast to the creamy filling.
Furthermore, enhance the flavor by adding ingredients that suit your taste. For example, diced avocado can introduce a creamy element, while a sprinkle of sesame seeds on top before baking adds a nice finish.
Adjusting the proportions of soy sauce, sesame oil, and vinegar provides a chance to tailor the flavor to your preference. Don’t hesitate to make this dish your own.
Elevating the Tuna Sushi Bake Experience
Perfecting Results
Perfecting a canned tuna sushi bake means paying attention to timing. After baking for 20-25 minutes, check for an even golden crust. Allow it to cool slightly before cutting into portions; this step makes serving easier and keeps the layers intact.
The right balance of creamy and savory components will delight your family and friends. If you wish for an extra kick, use spicy mayo instead of regular mayonnaise for the tuna mixture. This simple swap can significantly change the flavor profile.
Troubleshooting/Variations
Should you find the rice too sticky, a quick solution involves rinsing it thoroughly before cooking. On the other hand, if you prefer a firmer texture, slightly reduce the water during cooking.
Consider additional mix-ins for a different twist. Ingredients like chopped bell pepper or carrots add color and nutrients, and they work well with the existing flavor profile. Each healthy addition promotes versatility and accommodates dietary preferences.
Serving and Storing Your Canned Tuna Sushi Bake
Serving/Presentation
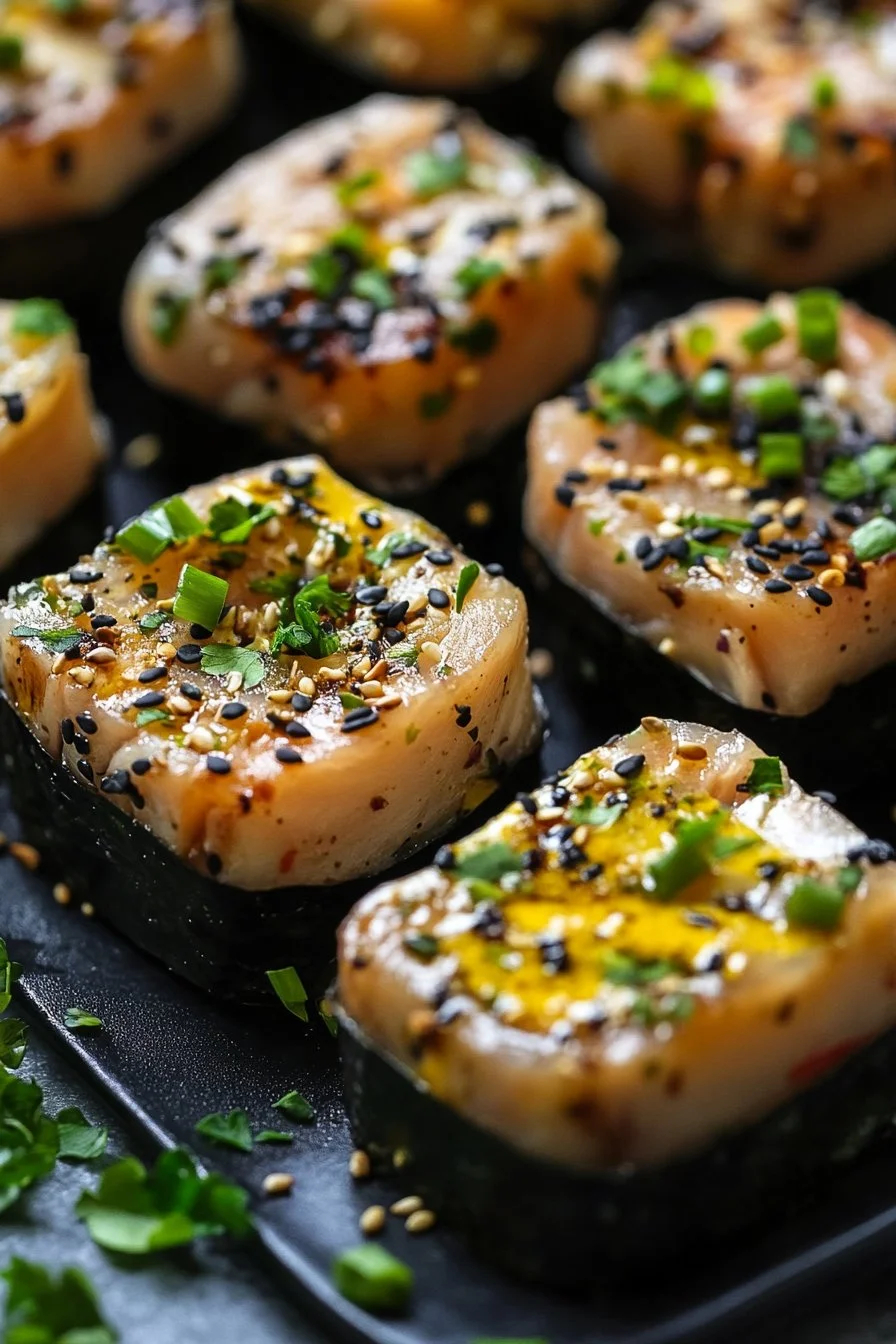
Presentation enhances the dining experience. Slice the warm sushi bake into squares or wedges and place them on a serving platter. Garnish with nori strips for a restaurant-like appeal. Adding tiny bowls of soy sauce, wasabi, and pickled ginger alongside the bake not only provides an attractive spread but also offers options for guests who appreciate customization.
Pairings/Storage
Enjoy this flavorful dish on its own or pair it with simple sides. A light salad, such as cucumber or seaweed salad, balances the richness of the bake, making for a well-rounded meal. Leftovers keep well in the fridge for up to three days, making this dish even more appealing.
When storing, ensure the bake is covered tightly to retain moisture. Reheat carefully in the oven or microwave, watching closely to preserve the textures developed during baking. This simple dish continues to deliver comfort and flavor, even as leftovers.
Creating a flavorful canned tuna sushi bake transforms familiar ingredients into a delightful meal experience. By following these steps and tips, anyone can bring a taste of sushi to their home kitchen without a hassle.
Print
Flavorful Canned Tuna Sushi Bake
- Prep Time: 15 minutes
- Cook Time: 30 minutes
- Total Time: 45 minutes
- Yield: 4 servings
- Category: Main Course
- Method: Baking
- Cuisine: Japanese
- Diet: Pescatarian
Description
A quick and delicious baked sushi dish made with canned tuna, sushi rice, and savory sauces, perfect for family gatherings.
Ingredients
- 2 cups sushi rice
- 2 ½ cups water
- 1 can (12 oz) tuna, drained
- ¼ cup mayonnaise
- 2 tablespoons soy sauce
- 1 tablespoon rice vinegar
- 1 teaspoon sesame oil
- ½ cup chopped green onions
- 1 sheet nori, cut into strips
- Soy sauce for serving
- Wasabi and pickled ginger for garnish (optional)
Instructions
- Preheat the oven to 350°F (175°C).
- Rinse the sushi rice under cold water until the water runs clear.
- In a pot, combine the rinsed sushi rice with 2 ½ cups of water. Bring to a boil, reduce heat, cover, and simmer for about 20 minutes.
- In a separate bowl, mix the drained tuna with mayonnaise, soy sauce, rice vinegar, sesame oil, and chopped green onions.
- Spread the cooked sushi rice evenly in a greased baking dish.
- Pour the tuna mixture over the rice and spread evenly.
- Bake in the preheated oven for 20-25 minutes or until heated thoroughly and slightly golden on top.
- Serve warm, garnished with nori strips and additional soy sauce, wasabi, and pickled ginger on the side.
Notes
For added crunch, top with panko breadcrumbs before baking. Customize with ingredients like avocado or bell peppers for variation.