📑 Table of Contents ▶
- The Science of Salt and Pepper Squid
- Fundamentals
- Preparation/Setup
- Directions
- Enhancing Your Salt and Pepper Squid Experience
- Technique
- Tips and Tricks
- Mastering the Art of Salt and Pepper Squid
- Perfecting Results
- Troubleshooting and Variations
- Serving Up Salt and Pepper Squid
- Presentation
- Pairings and Storage
- Conclusion
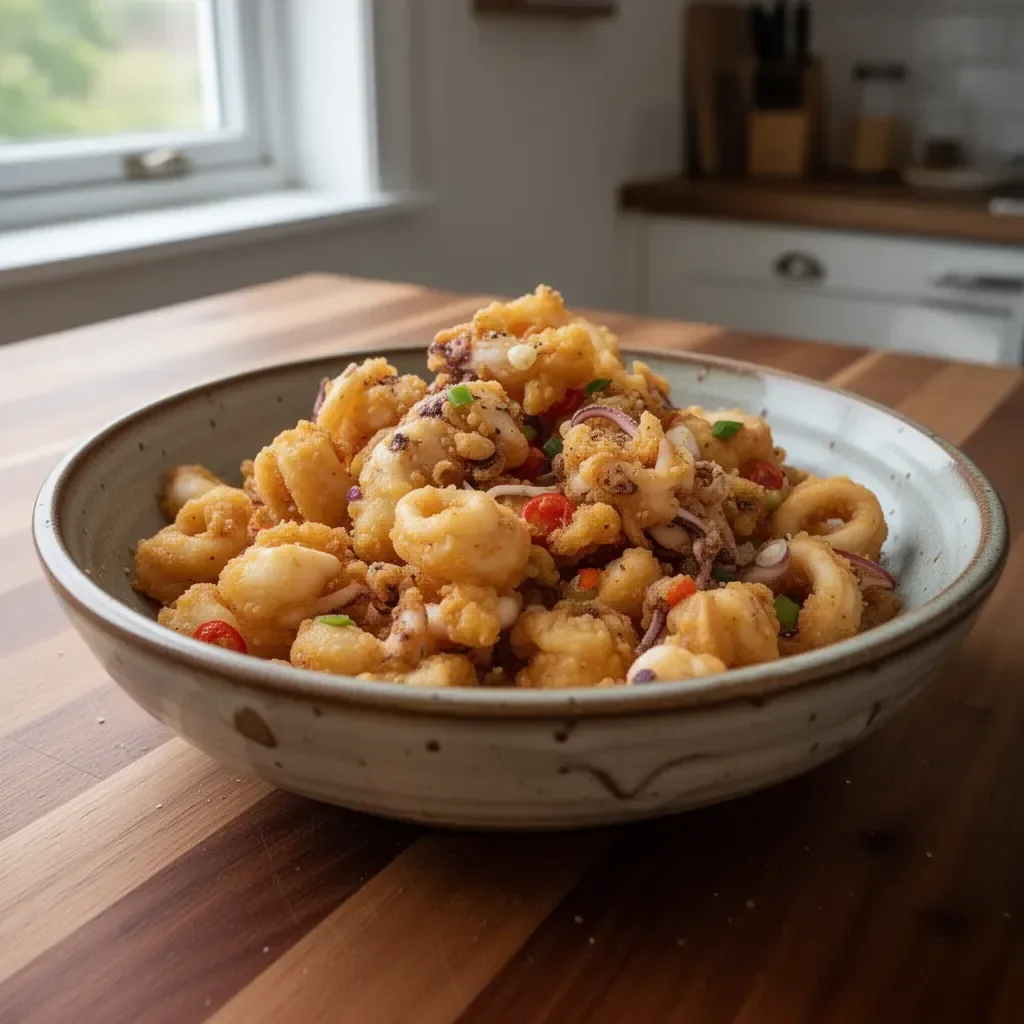
Salt and Pepper Squid
As a busy mom, I constantly seek out quick and delicious meals that my family will love. One dish that never fails to impress is salt and pepper squid. Bringing the taste of the beach to our kitchen, these crispy morsels of squid always spark joy at the dinner table. The crunch, the spice, and the tenderness of the squid create an experience that takes me back to summer days spent by the ocean.
Salt and pepper squid doesn’t just satisfy cravings; it’s simple enough to whip up on a weeknight. The alluring aroma that fills the kitchen while frying instantly lifts spirits. The best part? It takes hardly any time to prepare, allowing us to savor delicious moments together.
This recipe showcases how easy and fun cooking can be, transforming basic ingredients into something extraordinary. With just a handful of essentials, you can create a dish that brings excitement and flavor. Let’s dive into the delightful world of crispy salt and pepper squid!
The Science of Salt and Pepper Squid
Fundamentals
Salt and pepper squid is one of those dishes that’s both satisfying and joyful. It primarily allows the natural flavors of the squid to shine, enhanced by salt and pepper’s kick. The squid rings turn crispy and golden in the deep fryer, resulting in delightful crunch and flavor.
Understanding the right technique is essential for perfecting this dish. The batter – a combination of flour, cornstarch, and baking soda – creates that wonderful crunch. Using the right temperature when frying ensures that the squid cooks quickly and crisply, preventing it from becoming chewy. This recipe delivers a delightful contrast between the crispy exterior and the tender inside.
Preparation/Setup
Gathering your ingredients sets the stage for success. Ensure you have cleaned squid tubes ready to cut into rings. First, rinse them under cold water, then prepare the squid by pulling the tentacles from the head and discarding the cartilage. Cutting the tubes into uniform rings makes for even cooking and an appealing presentation.
You’ll need to have all your components within arm’s reach. Having your batter and seasonings prepped and ready will streamline the cooking process. Don’t forget to pat the squid dry before producing that glorious crunch. A little preparation goes a long way to achieving the perfect texture.
Ingredients
Here’s what you’ll need to create this mouthwatering dish:
- 10 oz cleaned squid tubes (cut into rings)
- Oil for deep-frying
- 1/2 tablespoon oil for stir-frying
- 2 tablespoons chopped scallions
- 1 teaspoon chopped red chilies
- 1/2 teaspoon salt (or to taste)
- 1/2 teaspoon ground white pepper
- 1/2 cup all-purpose flour
- 1/2 cup cornstarch
- 1/2 teaspoon baking soda
- 1 egg white
- 1/2 cup water
- 1 pinch salt
Directions
- Rinse the squid under cold water and pull the tentacles from the head. Remove and discard the cartilage from the tube, then cut into rings.
- Pat the squid very dry before coating in batter.
- Mix all batter ingredients (all-purpose flour, cornstarch, baking soda, egg white, water, and a pinch of salt) until well combined.
- Add the squid to the batter and stir to coat evenly.
- Heat 2 to 3 inches of oil in a wok or frying pan to 350°F (175°C).
- Gently drop the squid into the hot oil, ensuring to loosen them to prevent clumping.
- Deep-fry until golden brown and crispy, about 2-3 minutes.
- Remove the squid with a strainer or slotted spoon and let it drain on paper towels.
- In a skillet, heat 1/2 tablespoon of oil over high heat.
- Add scallions and red chilies, stirring quickly before returning the fried squid to the skillet.
- Add salt and white pepper to taste; stir well to combine.
- Transfer to a plate and serve hot.
Enhancing Your Salt and Pepper Squid Experience
Technique
Perfecting the technique is key to replicating that restaurant-quality crunch at home. Maintaining the oil temperature at around 350°F is crucial. This ensures that the squid cooks rapidly and locks in moisture while achieving a golden hue.
A little trick is to avoid overcrowding the pan. Fry in smaller batches, allowing enough space for the squid to float freely. This prevents sogginess and ensures a crispy texture. A strainer or slotted spoon is essential for removing the squid without excess oil, guaranteeing the perfect finish.
Tips and Tricks
- Patting the squid dry might seem mundane, but it significantly impacts the batter’s adherence. A dry surface allows for a superior crunch and prevents excessive oil absorption.
- Adjust the pepper to your taste. Whether you like it mild or spicy, you can customize the flavor by tweaking the amount of red chilies in the dish.
- Experiment with additional seasonings. Adding a dash of garlic powder or a sprinkle of sesame seeds after frying can elevate the dish further.
Mastering the Art of Salt and Pepper Squid
Perfecting Results
Achieving the perfect bite of salt and pepper squid depends not just on technique but also on timing. Overcooking can lead to a rubbery texture, so watch those seconds closely. The golden brown color is the cue that your squid is ready to come out of the oil.
A reliable method is to test a small piece first. If it meets your crispy expectations, proceed with frying the rest! You’ll develop a knack for frying with a little practice, taking this dish to impressive heights.
Troubleshooting and Variations
If the squid turns out chewier than expected, it’s likely been cooked too long. Aim for a quick fry—2-3 minutes usually suffices. If you notice the batter slipping off, ensure you dry the squid adequately and coat it thoroughly with the batter mixture before frying.
You can switch up the spices too. If you fancy an Asian twist, sprinkle some five-spice powder into your batter for added dimensions. The versatile nature of this dish opens the door for creativity.
Serving Up Salt and Pepper Squid
Presentation
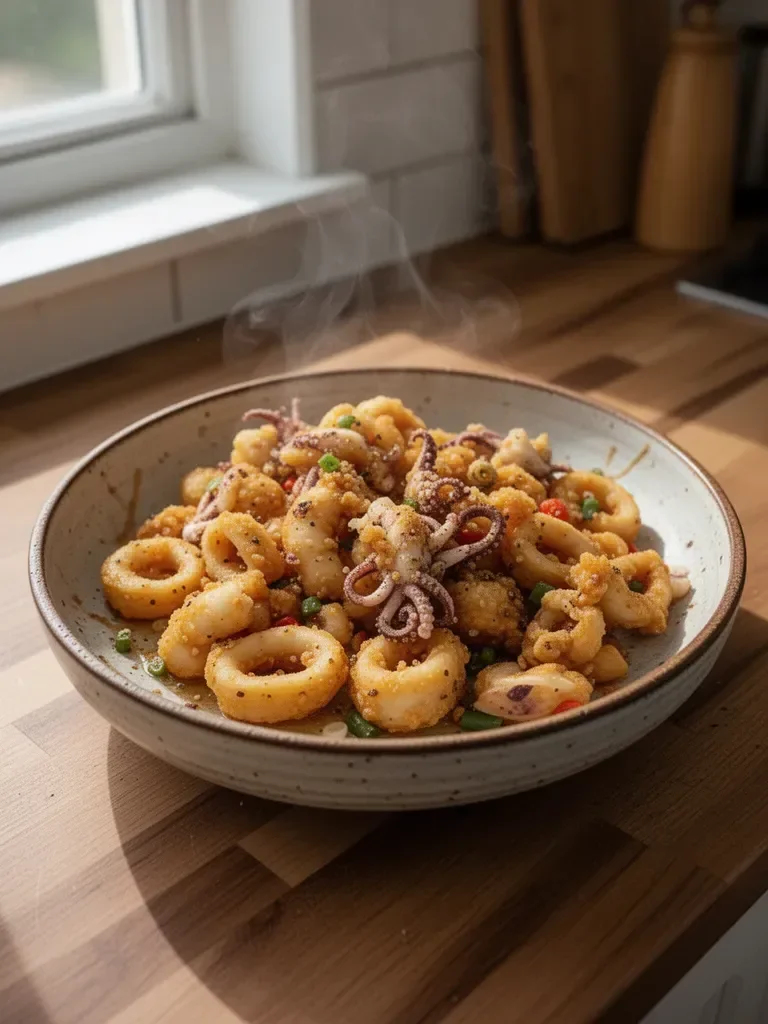
When plating your salt and pepper squid, aim for an appealing display. Lay the crispy squid rings on a large platter, garnished with vibrant scallions and red chilies. Their colorful appearance adds visual appeal, inviting everyone to dig in!
Serving with a side of dipping sauce can instantly elevate the experience. A bright citrusy sauce, such as a lime or chili sauce, complements the salty, peppery notes perfectly. Pairing the seafood with a refreshing salad can also balance the meal beautifully.
Pairings and Storage
Salt and pepper squid shines as a standalone dish, but pairing it with other simple sides adds variety. Think fresh cucumber salad or sweet potato fries. Both harmonize well with the savory squid. As for storing leftovers, they don’t keep well because of their crispy nature, but you can store any uneaten squid in an airtight container in the refrigerator for up to two days.
Reheating in the oven can help restore some crunch, but enjoy them freshly made for the best taste.
Conclusion
Salt and pepper squid delivers joy and excitement, combining simplicity with bold flavors. This dish not only enchants the palate but also creates lasting memories around the dining table. Enjoy the rush of creating fried perfection, relishing every crispy bite with your loved ones. Cooking can be a delightful journey, and salt and pepper squid is a fantastic destination—bringing a taste of the ocean right into your kitchen.
Print
Salt and Pepper Squid
- Prep Time: 15 minutes
- Cook Time: 10 minutes
- Total Time: 25 minutes
- Yield: 4 servings
- Category: Appetizer
- Method: Frying
- Cuisine: Asian
- Diet: Seafood
Description
Crispy and tender salt and pepper squid that brings a taste of the beach to your kitchen in no time.
Ingredients
- 10 oz cleaned squid tubes, cut into rings
- Oil for deep-frying
- 1/2 tablespoon oil for stir-frying
- 2 tablespoons chopped scallions
- 1 teaspoon chopped red chilies
- 1/2 teaspoon salt (or to taste)
- 1/2 teaspoon ground white pepper
- 1/2 cup all-purpose flour
- 1/2 cup cornstarch
- 1/2 teaspoon baking soda
- 1 egg white
- 1/2 cup water
- 1 pinch salt
Instructions
- Rinse the squid under cold water and pull the tentacles from the head. Remove and discard the cartilage from the tube, then cut into rings.
- Pat the squid very dry before coating in batter.
- Mix all batter ingredients (all-purpose flour, cornstarch, baking soda, egg white, water, and a pinch of salt) until well combined.
- Add the squid to the batter and stir to coat evenly.
- Heat 2 to 3 inches of oil in a wok or frying pan to 350°F (175°C).
- Gently drop the squid into the hot oil, ensuring to loosen them to prevent clumping.
- Deep-fry until golden brown and crispy, about 2-3 minutes.
- Remove the squid with a strainer or slotted spoon and let it drain on paper towels.
- In a skillet, heat 1/2 tablespoon of oil over high heat.
- Add scallions and red chilies, stirring quickly before returning the fried squid to the skillet.
- Add salt and white pepper to taste; stir well to combine.
- Transfer to a plate and serve hot.
Notes
Patting the squid dry is crucial for a superior crunch. Adjust spice levels to personal preference.