📑 Table of Contents ▶
- Homemade Milk Caramel: The Fundamentals
- Fundamentals
- Preparation/Setup
- Directions
- Techniques for Perfecting Your Homemade Milk Caramel
- Technique
- Tips/Tricks
- Perfecting Results: Getting the Most from Your Homemade Milk Caramel
- Perfecting Results
- Troubleshooting/Variations
- Serving & Storing Your Homemade Milk Caramel
- Serving/Presentation
- Pairings/Storage
- Conclusion
Homemade Milk Caramel
Creating homemade milk caramel transforms a simple ingredient into a luscious treat. The rich, gooey texture brings back memories of childhood cravings. As a busy mom, I always look for recipes that unite simplicity and indulgence. Homemade milk caramel stands out as one of those delightful recipes that allow you to savor each creamy bite.
The essence of homemade milk caramel lies in its few uncomplicated ingredients. With a can of sweetened condensed milk as the star, this recipe captures the harmonious melding of flavors. Watching the mixture bubble and thicken on the stove reminds me of my grandmother, who shared her secrets and love for desserts.
Every stirring motion while cooking builds excitement as you witness the caramel transform. This timeless treat offers a taste of nostalgia while being incredibly easy to prepare. Let’s dive deeper into how you can create this delightful homemade milk caramel.
Homemade Milk Caramel: The Fundamentals
Fundamentals
Understanding the basics of homemade milk caramel sets the foundation for a successful outcome. The process begins by bringing together just four ingredients, all of which are readily available in your pantry. Sweetened condensed milk provides the necessary sweetness and creaminess that makes the caramel luxurious.
Baking soda acts as a magic ingredient that enhances the color and flavor. When you combine this with a pinch of salt, it balances the sweetness perfectly. Vanilla extract rounds off the flavors, leaving a unique note that elevates the caramel.
Preparation/Setup
Preparation is key to a successful homemade milk caramel. Begin by gathering all your ingredients. Ensure you have a sturdy saucepan, as you will be cooking the caramel over low heat for an extended period. The low heat allows the mixture to bubble gently without burning, which is crucial for developing that beautiful caramel color.
Keep a spatula or wooden spoon handy for stirring. You will need to stir constantly to prevent sticking and burning, which can ruin the perfectly sweet outcome you desire.
Ingredients
For this recipe, you will need:
- 1 can of sweetened condensed milk
- 1/2 teaspoon of baking soda
- 1/4 teaspoon of salt
- 1 teaspoon of vanilla extract
These ingredients combine to create a rich and creamy caramel that serves as the base for various desserts or simply a delicious topping.
Directions
In a saucepan, combine the sweetened condensed milk, baking soda, and salt. Cook over low heat, stirring constantly for about 1 to 1.5 hours, until the mixture thickens and turns a caramel color. Once thickened, remove from heat and stir in the vanilla extract. Allow to cool before storing in jars. Enjoy!
Techniques for Perfecting Your Homemade Milk Caramel
Technique
The technique you use while cooking homemade milk caramel can affect the outcome. Start with low heat to prevent the milk from scorching. Patience plays a significant role; rushing may result in a burnt flavor, while taking your time ensures a perfect blend.
Stirring constantly not only helps to mix the ingredients but also allows the caramel to cook evenly. Be attentive to changes in color and texture, as they signal when you need to remove the saucepan from heat.
Tips/Tricks
Here are some tips to keep in mind while making your caramel:
- Use a heavy-bottomed saucepan. This ensures even heat distribution while cooking.
- Don’t skip stirring. Constant attention guarantees a smooth, creamy texture.
- Use a digital thermometer if needed. The ideal temperature to reach for caramel is around 220°F.
- If you notice the mixture beginning to bubble too hard, remove it from the heat momentarily.
These small adjustments can make a significant difference in achieving that perfect homemade milk caramel.
Perfecting Results: Getting the Most from Your Homemade Milk Caramel
Perfecting Results
Achieving perfect homemade milk caramel depends on varying factors, including heat levels and timing. Ensure you treat the cooking process with respect, and don’t rush through the steps. A thick consistency is key, and this can take time and patience.
Experimentation can enhance your efforts. Try different simmer times to find your desired flavor and thickness. Every batch teaches you something new, contributing to your culinary journey.
Troubleshooting/Variations
Should you face challenges while making milk caramel, here are some common issues and solutions. If your caramel doesn’t thicken, it may need more cooking time. Continue to cook patiently, stirring constantly.
Conversely, if it thickens too much, you can add a tablespoon of milk to loosen it up. If you find that the caramel has separated, ensure you stir it vigorously. You can mix it back together to restore its creamy consistency.
Variations can also be delightful. Try adding a pinch of cinnamon for warmth or a touch of cocoa powder for a chocolate twist.
Serving & Storing Your Homemade Milk Caramel
Serving/Presentation
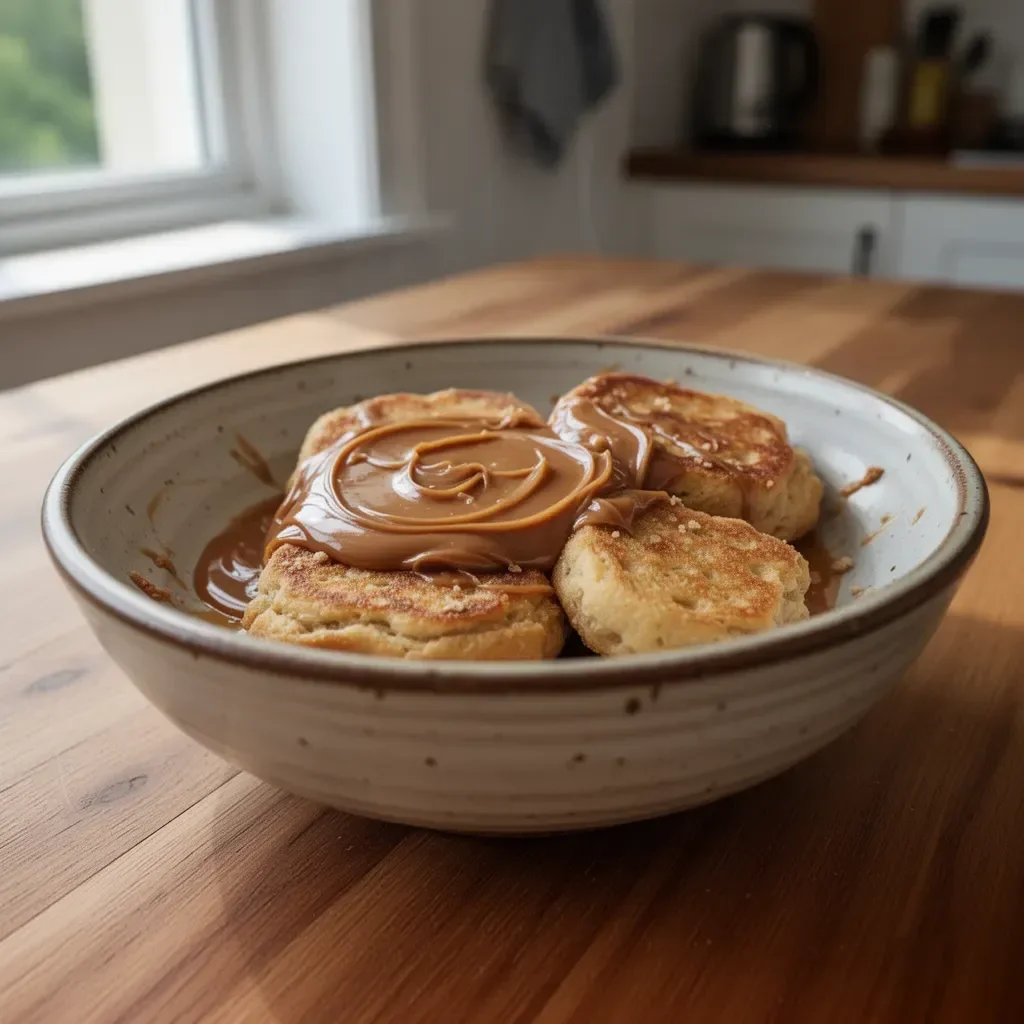
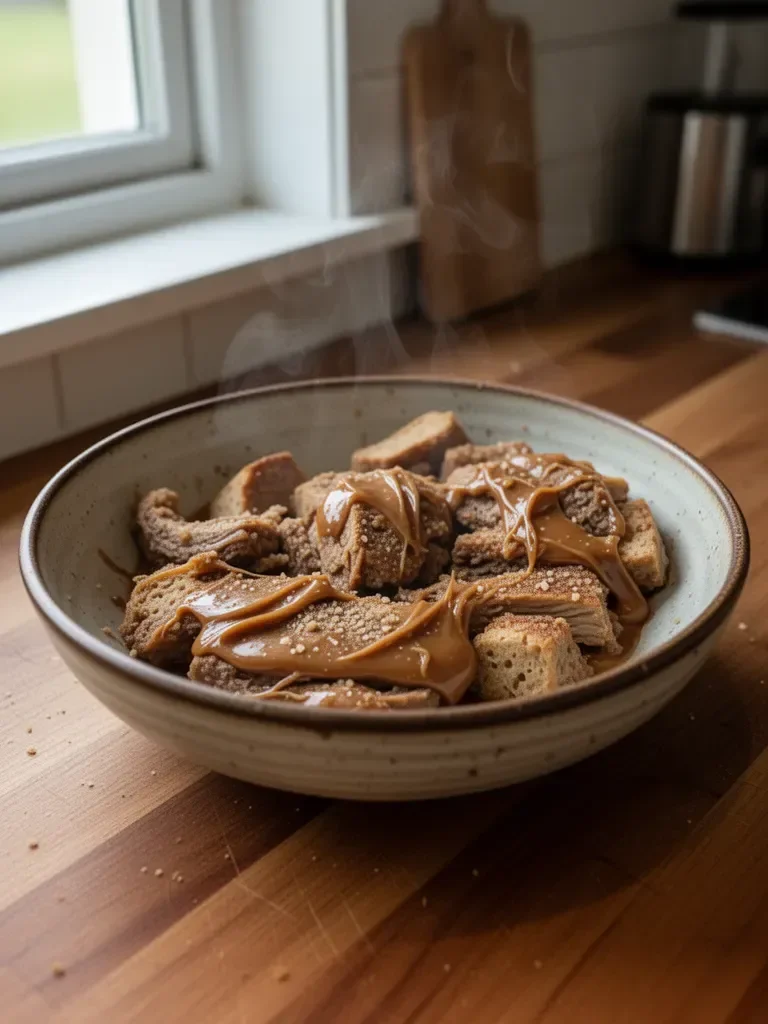
Homemade milk caramel shines when served creatively. Drizzle it over desserts like ice cream, pancakes, or waffles. Use it as a filling between cakes or in confectionaries. The smooth, creamy texture takes any treat to the next level.
Presentation matters too. Pour the warm caramel into jars, allowing you to showcase your culinary achievement. Tie a ribbon around the jar for a thoughtful gift or keep it for personal indulgence.
Pairings/Storage
Store your homemade milk caramel in jars with tight lids to maintain freshness. Place it in the refrigerator, where it can last up to two weeks. For extended storage, consider freezing it in ice cube trays, allowing you to pull out only what you need.
You can pair milk caramel with various flavors, such as sea salt or nuts, to enhance its taste. The versatility of homemade milk caramel makes it an excellent base for countless culinary explorations.
Conclusion
Creating homemade milk caramel offers a rich experience filled with nostalgic flavors and delightful textures. Every step of the process, from gathering ingredients to careful cooking, brings satisfaction and anticipation.
The resulting caramel boasts a creamy, luscious quality that enhances various treats and desserts. Whether drizzled over a decadent dessert or enjoyed straight from the jar, the simple transformation of a few humble ingredients into a comforting treat showcases the magic of cooking. Enjoy every scrumptious bite of your homemade creation.
Print
Homemade Milk Caramel
- Prep Time: 10 minutes
- Cook Time: 90 minutes
- Total Time: 100 minutes
- Yield: 2 cups
- Category: Dessert
- Method: Stovetop
- Cuisine: American
- Diet: Vegetarian
Description
Creating homemade milk caramel transforms simple ingredients into a luscious treat with a rich, gooey texture.
Ingredients
- 1 can of sweetened condensed milk
- 1/2 teaspoon of baking soda
- 1/4 teaspoon of salt
- 1 teaspoon of vanilla extract
Instructions
- Combine the sweetened condensed milk, baking soda, and salt in a saucepan.
- Cook over low heat, stirring constantly for about 60 to 90 minutes, until the mixture thickens and turns a caramel color.
- Remove from heat and stir in the vanilla extract.
- Allow to cool before storing in jars.
Notes
Use a heavy-bottomed saucepan and stir constantly for the best results. If caramel thickens too much, add a tablespoon of milk to loosen.