📑 Table of Contents ▶
Crispy Rice Bites
Creating delicious, crispy treats often starts with a single, memorable experience. Spurred by a craving for something crunchy yet satisfying, I stumbled across the world of crispy rice bites. These bite-sized delights not only promise a satisfying crunch but also bring an element of creativity to the table with endless topping possibilities.
As a busy individual, having a magic recipe that makes use of leftover sushi rice is a game-changer. It transforms what might be a neglected container in the fridge into something flavorful and exciting. The beauty of crispy rice bites lies in their versatility; it’s as much about utilizing what you have as it is about creating a delightful snack or appetizer.
Imagine biting into a perfectly crispy edge that gives way to a soft, flavorful interior seasoned with soy sauce and sesame oil. Each bite enhances the experience with the toppings you choose, whether it’s creamy avocado, spicy tuna, or fresh scallions. The thrill of combining textures and flavors makes this dish a crowd-pleaser every time.
Ready to explore the art of making crispy rice bites? Let’s dive into the details that make this recipe a staple in any kitchen.
Crispy Rice Basics
Fundamentals
Crispy rice bites hinge on transforming leftover short-grain sushi rice into a delectable snack. The unique texture of short-grain rice allows for a tender interior once fried, offering contrast to the crunchy exterior. This balance of textures is essential in achieving crispy rice perfection.
When preparing crispy rice bites, understanding foundational methods can significantly impact the final result. The key is cooking the rice just right and ensuring it’s pressed firmly before frying. This technique guarantees that the bites hold together during frying.
Preparation/setup
Kick off your preparation by gathering your ingredients. Make sure you have 2 cups of leftover short-grain sushi rice, soy sauce, sesame oil, and seasonings ready to go. Find a small baking dish to shape the rice and a sharp knife for cutting.
Before you get started, ensure your kitchen is well-equipped with a skillet and enough oil for frying. Keep your toppings handy; avocado, spicy tuna, and scallions make for delightful options, but feel free to experiment. Setting everything up beforehand streamlines the cooking process and enhances your overall experience.
Ingredients
- 2 cups leftover short-grain sushi rice
- 1 tbsp soy sauce
- 1 tsp sesame oil
- Salt, to taste
- Oil for frying
- Toppings of choice (avocado, spicy tuna, scallions)
Directions
- In a bowl, mix the leftover rice with soy sauce, sesame oil, and salt until well combined.
- Press the rice mixture into a flat, even layer in a small baking dish.
- Cut the pressed rice into squares or rectangles with a sharp knife.
- Heat oil in a skillet over medium heat.
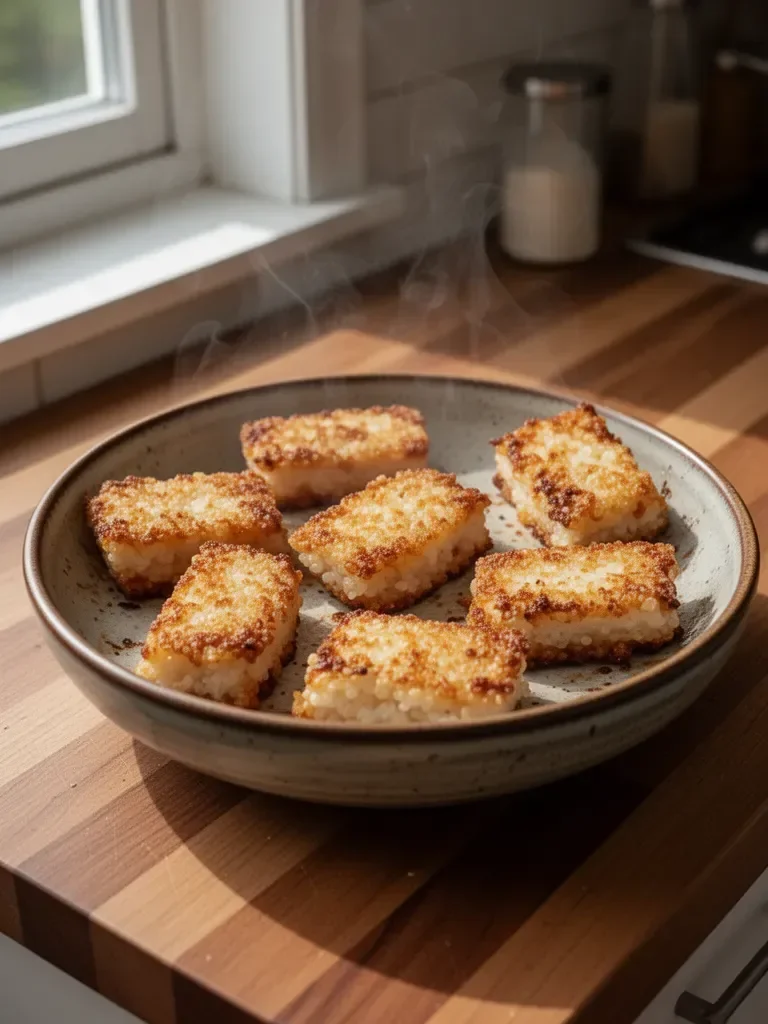
- Carefully add the rice squares to the skillet and fry them until crispy and golden brown on both sides, about 3-4 minutes per side.
- Remove from the skillet and let drain on paper towels.
- Serve topped with your favorite sushi toppings.
Perfecting the Technique
Technique
Achieving the perfect crispy rice bites requires attention to detail during the frying process. Heat the oil to the right temperature—medium heat allows for even cooking without burning. If the oil is too hot, the bites might brown too quickly on the outside while remaining undercooked inside.
When placing the rice squares in the skillet, don’t overcrowd them. Give each piece enough space to fry properly. This ensures they get the optimal crispness on each side.
Tips/tricks
To enhance crunchiness, consider refrigerating the rice mixture for about 30 minutes before pressing it into the baking dish. Chilling the mixture firms up the rice, making it easier to cut and manage during frying.
Experimenting with heating times helps, too. Keep an eye on the rice squares as they cook; a little patience goes a long way when you’re looking for that golden-brown result.
Troubleshooting and Variations
Perfecting Results
The recipe for crispy rice bites is fairly straightforward, but like any cooking method, it may require some fine-tuning. If your bites aren’t crispy enough, make sure the oil is hot enough during frying. Additionally, ensure that the rice squares are not too thick; thinner squares fry more efficiently.
If you want to cater to dietary preferences or twists in flavor, consider adding spices directly into the rice mixture. Paprika or garlic powder infuses surprising depths to your crispy bites.
Troubleshooting/variations
Sometimes, rice may stick to the frying pan. To prevent this, ensure the skillet is adequately oiled before placing the rice squares. You can also try using a non-stick skillet.
If you find that your bites break apart during flipping, practice your flipping technique with a spatula, gently nudging the edges first for better control.
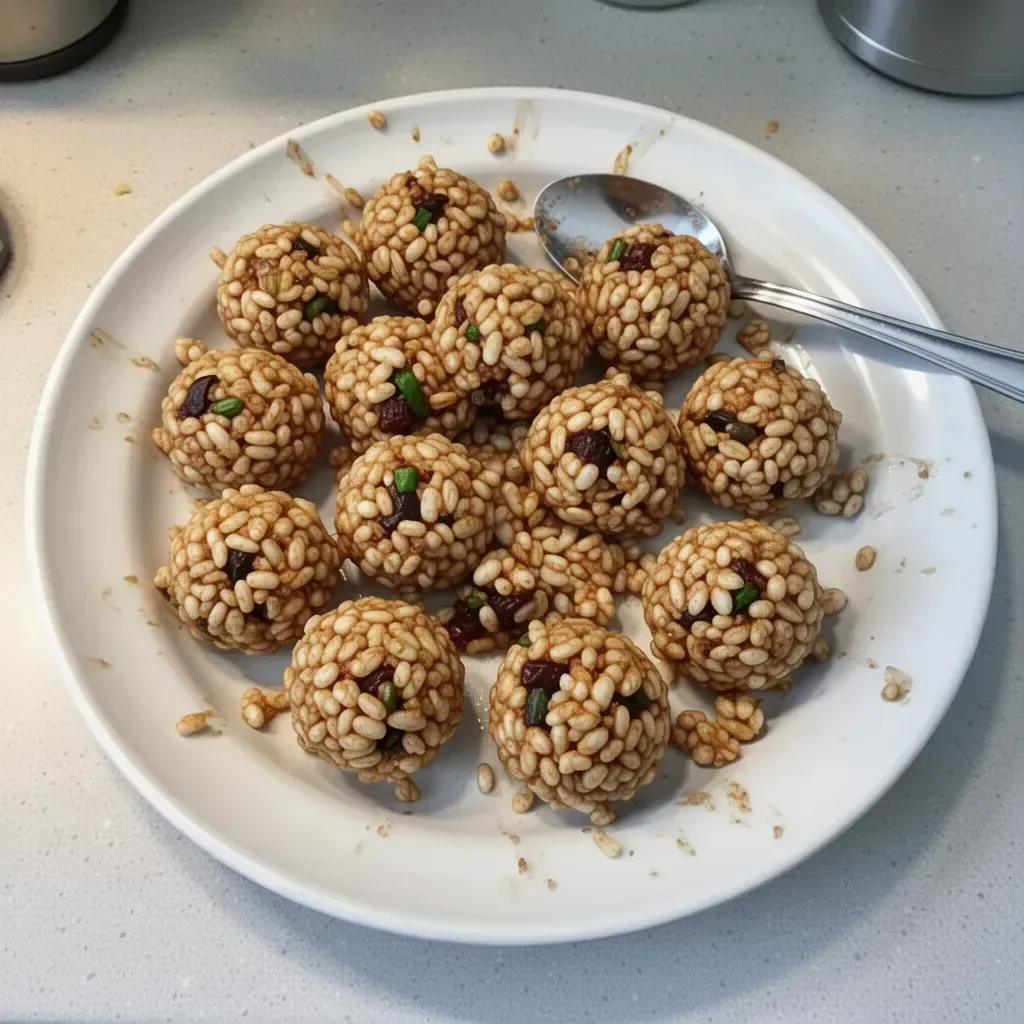
Variations on the toppings can transform your crispy rice bites into new flavors. Whether you try adding shredded crab, edamame, or pickled veggies, the possibilities are limitless.
Serving and Storing
Serving/presentation
When it comes to serving crispy rice bites, presentation can elevate the experience. Arrange the fried rice squares on a platter, drizzling them lightly with additional sesame oil or a sprinkle of sea salt. The key is to keep everything visually appealing while focusing on the built-in crunch and flavor.
Incorporating toppings can create an aesthetically pleasing dish. Arrange sliced avocados alongside the rice bites, or create small towers of spicy tuna and scallions on top. The color contrasts enhance the dish’s appeal.
Pairings/storage
Crispy rice bites pair well with a variety of dipping sauces, from spicy mayo to teriyaki sauce. Each sauce offers a different twist, ensuring every bite is flavorful.
For storing leftovers, allow the crispy rice bites to cool before placing them in an airtight container. They can sit in the fridge for up to three days, but note that they may lose some crispiness. Reheating them in an oven or skillet can help restore some of that wonderful crunch without the need for additional frying.
No wine or hideous pairings required.
Conclusion
Making crispy rice bites is an excellent way to use leftover sushi rice creatively. This dish lets you celebrate flavors and textures, providing a satisfying crunch with every bite. Through simple techniques and a little preparation, you can master the art of crispy rice bites, delighting your family and friends with this versatile snack. Enjoy experimenting with toppings, and relish the satisfaction of creating something truly delicious from everyday ingredients.
Print
Crispy Rice Bites
- Prep Time: 15 minutes
- Cook Time: 15 minutes
- Total Time: 30 minutes
- Yield: 4 servings
- Category: Snack
- Method: Frying
- Cuisine: Japanese
- Diet: Vegetarian
Description
Delicious, crunchy bites made from leftover sushi rice, seasoned with soy sauce and sesame oil, and topped with your favorite ingredients.
Ingredients
- 2 cups leftover short-grain sushi rice
- 1 tbsp soy sauce
- 1 tsp sesame oil
- Salt, to taste
- Oil for frying
- Toppings of choice (avocado, spicy tuna, scallions)
Instructions
- Mix the leftover rice with soy sauce, sesame oil, and salt until well combined.
- Press the rice mixture into a flat, even layer in a small baking dish.
- Cut the pressed rice into squares or rectangles with a sharp knife.
- Heat oil in a skillet over medium heat.
- Add the rice squares to the skillet and fry them until crispy and golden brown on both sides, about 3-4 minutes per side.
- Remove from the skillet and let drain on paper towels.
- Serve topped with your favorite sushi toppings.
Notes
Refrigerating the rice mixture before pressing enhances crunchiness. Store leftovers in an airtight container for up to three days.