
📑 Table of Contents ▶
Asian-Style Tuna Cakes
Creating delicious meals doesn’t always require a long list of ingredients or hours spent in the kitchen. Asian-style tuna cakes epitomize this simplicity while packing a flavor punch. Tuna cakes often surface in my kitchen during busy weeknights—those moments when time is short, but a good homemade meal is a must. Using just a few pantry staples, these cakes deliver crispy texture and savory satisfaction.
The beauty of these Asian-style tuna cakes lies in their versatility. They suit a range of occasions, whether it’s a laid-back family dinner or a casual get-together with friends. Plus, the ingredients yield a delightful result that often surprises newcomers. Each bite brings a medley of flavors, from the zing of ginger to the rich bite of soy sauce.
What makes this recipe even better is the minimalist approach; anyone can whip them up in no time. By incorporating a food processor or even your hands, you can easily mold the mixture into patties. Let’s dive into the fundamental steps of crafting these delightful crusted bites. You’ll want to enjoy this recipe again and again.
Asian-Style Tuna Cakes: The Fundamentals
Fundamentals
Asian-style tuna cakes combine delightful textures and flavors that make them perfect for various meals. At the core of this recipe lies a can of tuna, which is both affordable and versatile. This seafood provides essential nutrients while delivering a hearty foundation for your cakes. Mixing in breadcrumbs and a beaten egg binds the ingredients, enhancing the overall texture of the cakes.
Adding minced ginger and garlic elevates the flavor profile, infusing each bite with zest and warmth. These ingredients harmonize beautifully with the soy sauce, imparting a delicious umami taste. Furthermore, the vibrant green onion adds a fresh, crisp note, balancing the other ingredients perfectly. Each element works together to create a satisfying culinary experience, making these tuna cakes irresistible.
Preparation/Setup
Before diving into the cooking process, set the stage with essential preparations. Gather all your ingredients in a spacious bowl to streamline the mixing process. Draining the can of tuna thoroughly ensures each patty holds together during frying. Mincing the ginger and garlic allows their flavors to meld seamlessly into the mixture.
You’ll want to create a frying station next. Have a skillet ready at medium heat with oil preheating to guarantee perfectly crispy patties. This setup minimizes hassle and ensures an efficient cooking process. Trust me—having everything prepped and organized leads to better results and a more enjoyable cooking experience.
Ingredients
For this recipe, you will need:
- 1 can of tuna, drained
- 1/4 cup breadcrumbs
- 1 egg, beaten
- 1 tablespoon ginger, minced
- 1 tablespoon garlic, minced
- 2 tablespoons soy sauce
- 1 green onion, chopped
- 1 tablespoon mayonnaise
- Salt and pepper to taste
- Oil for frying
These simple ingredients combine to create flavor-packed patties with a satisfying crunch.
Directions
- In a bowl, combine the drained tuna, breadcrumbs, beaten egg, minced ginger, minced garlic, soy sauce, green onion, mayonnaise, salt, and pepper.
- Mix the ingredients thoroughly to ensure even distribution.
- Form the mixture into small patties, making them evenly sized for consistent cooking.
- Heat oil in a pan over medium heat until it shimmers.
- Fry the patties until golden brown on both sides, about 3-4 minutes per side.
- Serve with spicy mayo for an added kick.
Perfecting Asian-Style Tuna Cakes
Technique
Cooking Asian-style tuna cakes requires simple yet effective techniques to achieve good results. The most crucial tip is to ensure the patties don’t become too wet—draining the tuna properly is vital. A drier mixture allows for crispier cakes that hold their shape better during frying.
While forming the patties, gently press them together, but don’t overwork the mixture. This maintain the tuna’s texture, leading to a delightful bite. When ready to fry, let the oil heat adequately before adding the patties; this helps achieve the coveted golden crust.
Tips/Tricks
A few handy tips can elevate your tuna cakes even further. For those who enjoy a bit of crunch, consider adding finely chopped vegetables such as bell peppers or carrots to the mixture. They add vibrant color and nutrition while enhancing the overall texture.
Experiment with spices as well; a dash of chili flakes or a sprinkle of sesame seeds can introduce unique flavors. If you’re looking to make a larger batch, it’s easy to double or triple the recipe. Store the extras in the fridge before frying—they reheat nicely over the next few days, providing easy meals in a pinch.
Enhancing Your Asian-Style Tuna Cakes
Perfecting Results
To achieve perfectly golden and crispy tuna cakes, focus on the frying technique. A well-heated pan is key; if the oil isn’t hot enough, the patties will absorb too much oil and become greasy. Adjust the heat as necessary while cooking to maintain an ideal frying temperature.
Also, letting the patties sit for a minute before flipping allows for a better crust to develop. This resting period helps the bottom side firm up, ensuring they remain intact when turned. Keep an eye on the color; timing can vary based on your stovetop, but a golden brown indicates they’re ready to be flipped.
Troubleshooting/Variations
In case your patties fall apart during frying, don’t panic. This may happen due to excess moisture or not enough binding. Simply add more breadcrumbs or a bit more egg, mixing carefully to adjust the consistency. Another way to solidify the mixture is to refrigerate it for about 30 minutes before forming patties.
Feel free to get creative with your Asian-style tuna cakes. Swap out ingredients or adjust quantities to suit your taste preferences. For instance, adding a tablespoon of sriracha to the mixture can create a spicy kick, while swapping mayonnaise for Greek yogurt can lighten things up. Embrace the possibilities and make the recipe your own.
Serving and Storing Asian-Style Tuna Cakes
Serving/Presentation
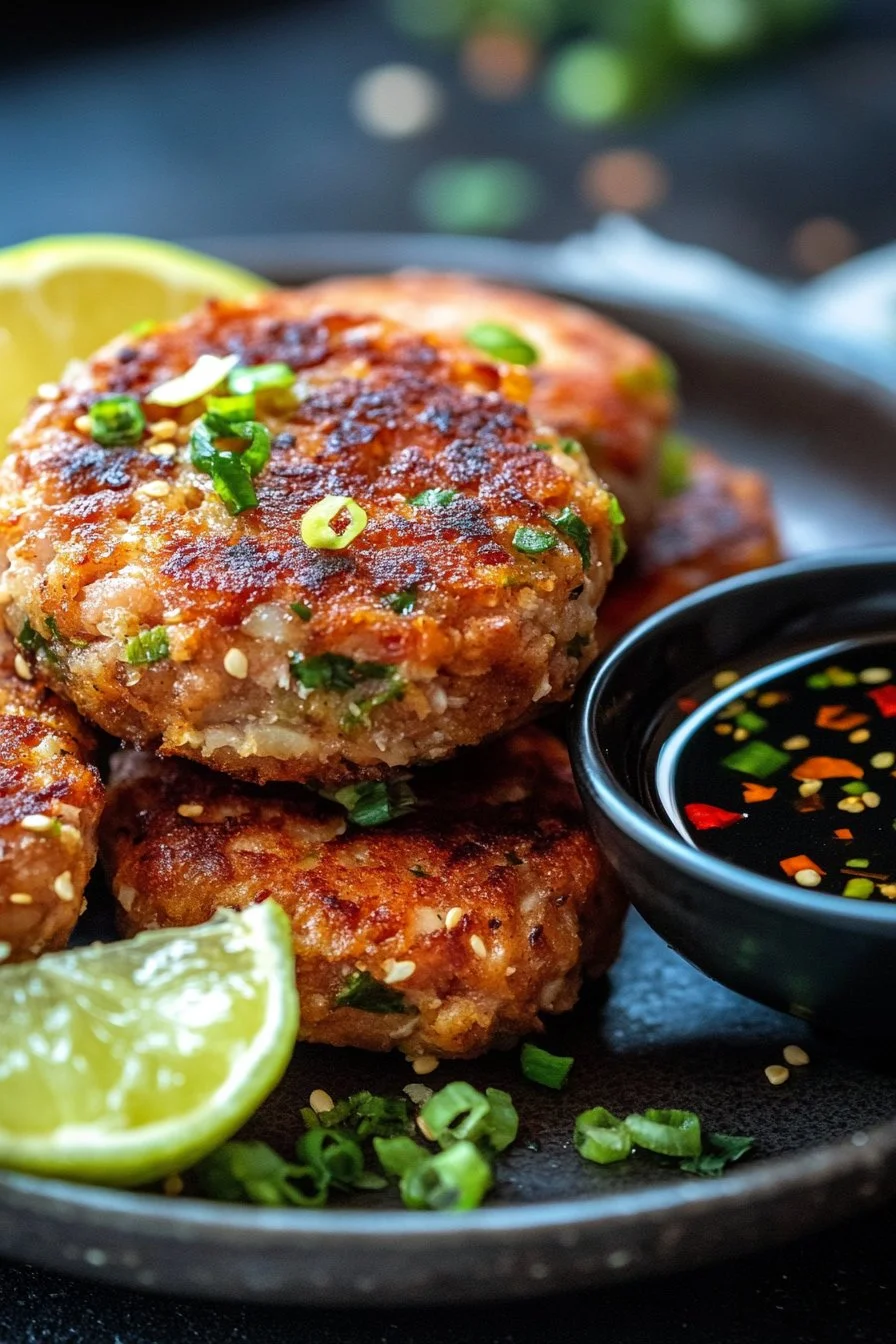
Present your Asian-style tuna cakes beautifully to impress your guests. Arrange them on a serving platter and garnish with extra chopped green onions or sesame seeds for a sophisticated touch. Pairing them with a side of colorful dipping sauce promotes an inviting appearance and complements the flavors.
These tuna cakes can shine on their own, but they also work wonderfully with sides like a simple salad or steamed vegetables. Consider serving them with rice or quinoa for a heartier option that enhances the overall meal.
Pairings/Storage
One of the best aspects of Asian-style tuna cakes is their versatility in pairings. They work well on a bed of mixed greens or alongside fresh cucumber slices for a refreshing crunch. If you enjoy dipping sauces, opt for spicy mayo, a tangy soy sauce blend, or even avocado sauce. These options elevate your meal without overshadowing the cakes.
Storing any leftover cakes is simple; place them in an airtight container in the refrigerator for up to three days. Reheat them in a skillet over medium heat until warm and crispy again. It’s an easy way to enjoy a quick meal without starting from scratch!
Asian-style tuna cakes provide a fantastic way to enjoy nutritious ingredients quickly and deliciously. Each bite represents the ideal harmony of flavors while being simple to prepare. These cakes truly offer the best of both worlds: quick and flavorful.
Print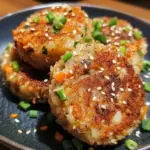
Asian-Style Tuna Cakes
- Prep Time: 15 minutes
- Cook Time: 10 minutes
- Total Time: 25 minutes
- Yield: 4 servings
- Category: Main Course
- Method: Frying
- Cuisine: Asian
- Diet: Pescatarian
Description
Delicious and crispy Asian-style tuna cakes made with pantry staples, perfect for busy weeknights.
Ingredients
- 1 can of tuna, drained
- 1/4 cup breadcrumbs
- 1 egg, beaten
- 1 tablespoon ginger, minced
- 1 tablespoon garlic, minced
- 2 tablespoons soy sauce
- 1 green onion, chopped
- 1 tablespoon mayonnaise
- Salt and pepper to taste
- Oil for frying
Instructions
- In a bowl, combine the drained tuna, breadcrumbs, beaten egg, minced ginger, minced garlic, soy sauce, green onion, mayonnaise, salt, and pepper.
- Mix the ingredients thoroughly to ensure even distribution.
- Form the mixture into small patties, making them evenly sized for consistent cooking.
- Heat oil in a pan over medium heat until it shimmers.
- Fry the patties until golden brown on both sides, about 3-4 minutes per side.
- Serve with spicy mayo for an added kick.
Notes
Make sure to drain the tuna well for crispier cakes. You can customize the recipe with additional vegetables or spices.