
📑 Table of Contents ▶
- Part 1 — Mastering Chilean Sea Bass
- Fundamentals
- Preparation/Setup
- Directions
- Part 2 — Perfecting the Technique
- Technique
- Tips/Tricks
- Part 3 — Achieving Perfect Results
- Perfecting Results
- Troubleshooting/Variations
- Part 4 — Serving and Presentation
- Serving/Presentation
- Pairings/Storage
- Conclusion
- Ruth’s Chris Chilean Sea Bass
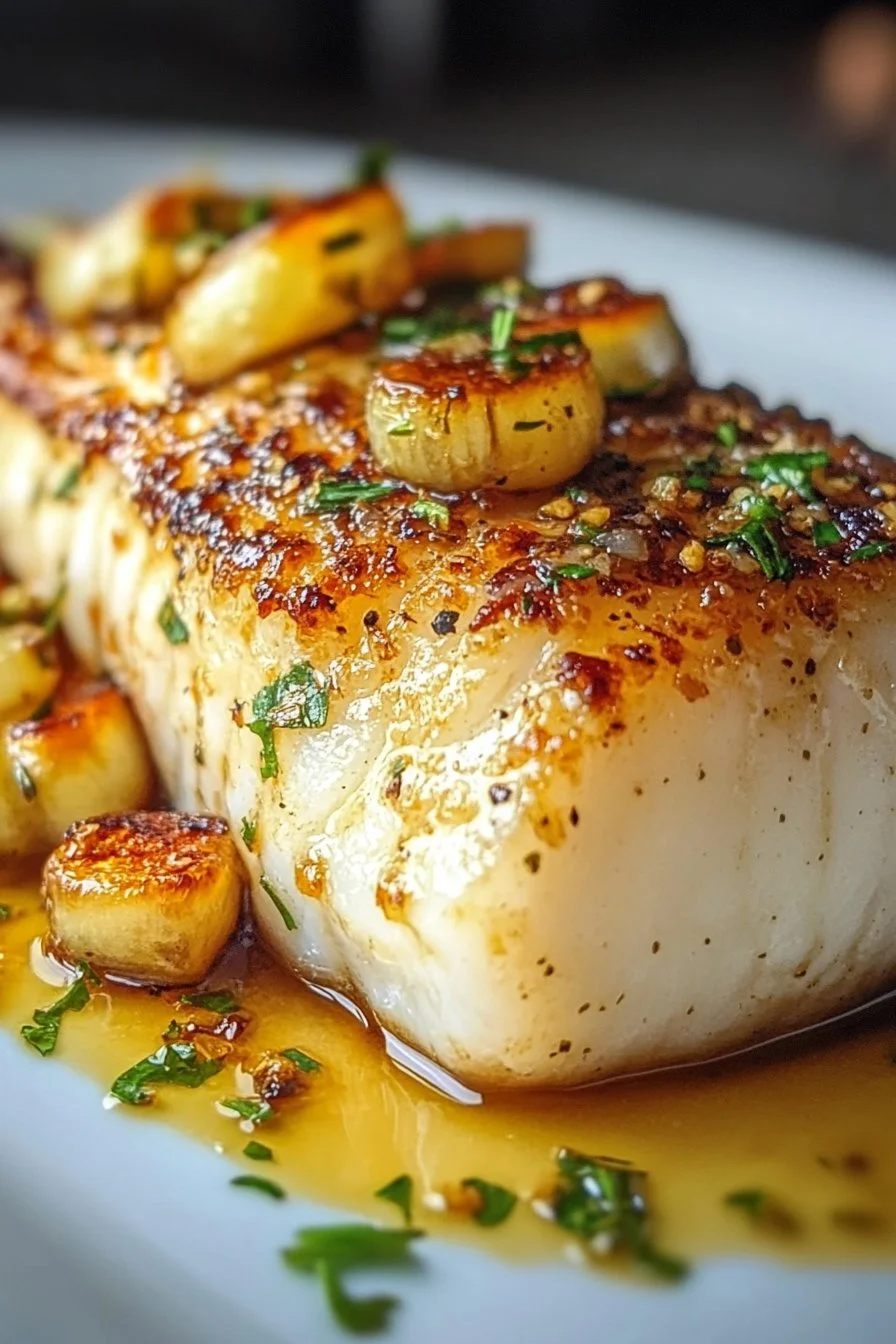
Ruth’s Chris Chilean Sea Bass
Discovering the perfect recipe for Chilean sea bass fillets can feel like uncovering a hidden gem in the culinary world. It started one rainy night when I craved something delicious yet light. The allure of silky, buttery fish paired perfectly with fresh herbs beckoned me as I rummaged through my pantry. While many may shy away from cooking seafood at home, I found that with the right method, it doesn’t have to be intimidating at all.
The beauty of Chilean sea bass lies in its rich, melting texture, making it a favorite for special occasions. Cooking it doesn’t require advanced skills, just a few ingredients and the right technique. Armed with my trusty skillet, I began to experiment with this delightful fish. Soon enough, I discovered a simple yet impressive recipe that would rival any dish served at a high-end restaurant.
This Chilean sea bass recipe transforms a busy weeknight into a delightful dinner experience. Imagine the savory aroma of garlic mingling with fresh lemon juice while the fish bakes to perfection in the oven. Each bite offers a perfect balance of flavor and freshness. Come along as we dive into the vivid world of preparing this exquisite dish.
Part 1 — Mastering Chilean Sea Bass
Fundamentals
Chilean sea bass, also known as Patagonian toothfish, provides a unique culinary experience. Its mild flavor pairs well with various seasonings, but you can keep it simple with olive oil, lemon juice, and butter. Maintaining the fish’s natural flavors is key, which is why the seasoning used should enhance rather than overwhelm.
When cooking Chilean sea bass, focus on achieving that perfect golden crust. This texture brings together the fish’s buttery taste with delightful crunch. The process of searing, followed by baking, allows for a beautifully cooked piece of fish that remains moist and flavorful inside.
Preparation/Setup
Begin by preheating your oven to 400°F (200°C). This temperature is ideal for ensuring an even cook while allowing for effective caramelization of the fish’s surface. While the oven warms up, take the time to season your Chilean sea bass fillets. A simple blend of salt and black pepper can elevate the taste, allowing the sweet notes of the fish to shine through.
Gather your cooking essentials: a heavy skillet for searing and a few fresh herbs like parsley or thyme to garnish. These herbs not only add a pop of color but also infuse the dish with vibrant freshness. With these preparations in place, you’re ready to embark on your culinary adventure.
Ingredients
Here’s what you’ll need to create this Ruth’s Chris-inspired Chilean sea bass dish:
- Chilean sea bass fillets
- Olive oil
- Salt
- Black pepper
- Fresh lemon juice
- Garlic, minced
- Butter
- Fresh herbs (parsley or thyme)
Directions
- Preheat oven to 400°F (200°C).
- Season the Chilean sea bass fillets with salt and black pepper.
- In a skillet, heat olive oil over medium-high heat.
- Sear the fish for about 3-4 minutes per side until golden brown.
- Add minced garlic and cook for an additional minute.
- Transfer the skillet to the oven and bake for about 10-12 minutes until cooked through.
- Remove from oven, drizzle with lemon juice and melted butter.
- Garnish with fresh herbs before serving.
Part 2 — Perfecting the Technique
Technique
For perfect results, mastering the searing technique is essential. Start with a hot skillet to create that golden crust. Fish tends to stick if the skillet is not hot enough, so give it a moment to reach the right temperature. Use a neutral oil like olive oil that withstands high heat while adding flavor without overpowering.
Timing plays a crucial role here, as well. Count your minutes, carefully flipping the fish once to avoid overcooking. Pay attention to the color change; it’s your best cue for when to flip and transfer it to the oven.
Tips/Tricks
To enhance the flavors, consider adding additional herbs to the skillet when searing the fish. Rosemary or thyme can infuse the dish even further. You can also test the fish’s doneness using a fork; it should flake easily when fully cooked. If unsure, it is better to slightly undercook rather than overdo it, as the fish will continue cooking out of the oven.
Storing leftovers? Make sure to wrap them tightly to maintain freshness and moisture. Enjoying the buttery flavor the next day is absolutely worth it!
Part 3 — Achieving Perfect Results
Perfecting Results
Achieving the desired richness with Chilean sea bass is about balance. Rely on quality ingredients; the fish should be exceptionally fresh. The buttery texture makes it forgiving, but nuances come from the quality of your seasoning and preparation.
Don’t shy away from adjusting the seasoning according to your preference. A splash of fresh lemon juice just before serving can also brighten the flavors.
Troubleshooting/Variations
If you find your fish sticking to the skillet, check the skillet’s heat. If it’s too low, it will cling rather than sear. On the other hand, overly high heat can burn the outside before cooking the inside.
For variations, feel free to substitute the garlic with shallots or different herbs. The cooking method remains the same, but the flavor profile will shift, creating new dining experiences.
Part 4 — Serving and Presentation
Serving/Presentation
This dish deserves a beautiful presentation that mirrors its delightful taste. Serve the Chilean sea bass on a warm plate, showcasing the golden exterior. Drizzle the melted butter and lemon juice across the top for a glossy finish.
Garnishing with finely chopped fresh herbs like parsley or thyme not only elevates the dish visually but adds to the aroma as well. Consider pairing it with a side of roasted vegetables or a light salad for a complete meal.
Pairings/Storage
Pair your Chilean sea bass with a variety of sides. Roasted asparagus, sautéed spinach, or a quinoa salad works beautifully. The lightness of these sides will complement the richness of the fish without overwhelming it.
For storage, ensure your leftovers are well-covered. Use an airtight container in the refrigerator to keep it fresh for up to three days. Reheating gently in the oven or a skillet will help maintain its texture and flavor.
Conclusion
Cooking Chilean sea bass at home opens a world of flavors right in your kitchen. This simple yet luxurious dish will elevate any weeknight dinner. The combination of searing and baking delivers a beautifully cooked fish that bursts with buttery goodness and distinct flavors. Enjoy this delectable seafood dish, savoring every bite as you would in a fine dining experience, right at home.
Print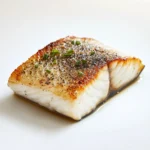
Ruth’s Chris Chilean Sea Bass
- Prep Time: 10 minutes
- Cook Time: 20 minutes
- Total Time: 30 minutes
- Yield: 2 servings
- Category: Main Course
- Method: Baking
- Cuisine: Seafood
- Diet: Pescatarian
Description
A simple yet impressive Chilean sea bass recipe featuring a rich, buttery texture perfected with garlic and fresh herbs.
Ingredients
- Chilean sea bass fillets
- Olive oil
- Salt
- Black pepper
- Fresh lemon juice
- Garlic, minced
- Butter
- Fresh herbs (parsley or thyme)
Instructions
- Preheat oven to 400°F (200°C).
- Season the Chilean sea bass fillets with salt and black pepper.
- In a skillet, heat olive oil over medium-high heat.
- Sear the fish for about 3-4 minutes per side until golden brown.
- Add minced garlic and cook for an additional minute.
- Transfer the skillet to the oven and bake for about 10-12 minutes until cooked through.
- Remove from oven, drizzle with lemon juice and melted butter.
- Garnish with fresh herbs before serving.
Notes
For best results, ensure the skillet is hot enough to prevent sticking. Adjust seasoning as desired and consider additional herbs for enhanced flavor.