📑 Table of Contents ▶
Pickled Sushi Ginger (Homemade Gari)
Finding the perfect accompaniment for sushi is a journey that many food lovers undertake. My love for sushi deepened years ago during a visit to a local Japanese restaurant. One of the standout moments was tasting the homemade pickled sushi ginger, or gari. The vibrant pink hue and the delightful tang danced on my palate, cutting through the richness of the sushi, refreshing my taste buds after each bite.
Creating your own pickled sushi ginger opens the door to flavor exploration. It transforms any sushi night into a special occasion and introduces a personal touch to a dish many enjoy. With just a handful of ingredients, making this delightful condiment becomes an enjoyable kitchen project. Plus, it offers the satisfaction of knowing exactly what’s in your food.
Making pickled sushi ginger at home allows you to customize the flavors to your liking. The process is simple and can be completed in a few easy steps. Let’s dive into the world of homemade gari and elevate your sushi experience.
The Art of Pickled Sushi Ginger
Fundamentals
Pickling ginger is an art that balances sweetness, acidity, and umami. The combination of rice vinegar and sugar creates a brine that coats each slice of ginger, transforming the raw flavor into something truly special. Understanding these elements makes a significant difference in how your pickled ginger turns out.
One essential factor is the quality of ginger you choose. Young ginger root, known for its tender texture and mild flavor, lends itself perfectly to this dish. The pink stems add both color and a delicate sweetness, enhancing the overall presentation and taste.
Preparation/Setup
Before embarking on your pickling adventure, gather all the ingredients. The core components—young ginger, vinegar, sugar, and soy sauce—lay the foundation for your pickled sushi ginger. A clean jar for storing the ginger is necessary to keep the flavors intact.
Prepare a saucepan to mix your ingredients. While waiting for the mixture to heat up, take the time to clean and peel the ginger. This step ensures you start with the freshest base, unencumbered by any dirt or impurities.
Ingredients
To make your pickled sushi ginger, you will need:
- 250 ml water
- 125 ml rice vinegar or white vinegar
- 80 g light brown or white sugar
- 1 tsp Japanese light soy sauce
- 1 small piece of dried kombu (about 5 cm)
- 340 g young ginger root
- 1 tsp salt
Each ingredient plays an essential role in the pickling process, contributing to the complex flavors we love about gari.
Directions
- In a saucepan, combine water, rice vinegar, light brown sugar, soy sauce, and dried kombu. Heat until near boiling, then remove from heat and let cool.
- While the mixture cools, clean the ginger by scrubbing it thoroughly and then scrape off the outer skin. Set aside the pink stems.
- Slice the ginger thinly, then blanch in boiling water for 1 minute.
- Drain the ginger slices and sprinkle with salt before letting them cool.
- Once cooled, squeeze out the excess liquid.
- Transfer the cooled pickling liquid to a container. Remove the kombu and add the ginger slices and pink stems. Cover the container.
- Refrigerate for at least 24 hours before serving.

Mastering the Technique
Technique
The technique behind pickling isn’t complicated, but it does require attention to detail. Blanching the ginger is crucial; it softens the root and prepares it for absorbing the brine effectively. The resulting texture adds to the overall experience, making each bite of sushi even more delightful.
Experimenting with the thickness of your ginger slices can yield different flavor profiles. Thinner slices will absorb the brine more quickly and develop a stronger flavor, while thicker slices maintain a crunchier texture.
Tips/Tricks
Here are a few tips to ensure your pickled sushi ginger turns out perfectly:
- Freshness Matters: Use the freshest young ginger possible. Its mild flavor is key to achieving that authentic taste.
- Color Variance: If you want a deeper pink hue, consider adding a small amount of beet juice or leave the pink stems in for added color.
- Patience is Key: While it’s tempting to dig in right away, the flavors develop with time. Allow your ginger to pickle for at least 24 hours for the best results.
Perfecting Your Pickled Sushi Ginger
Perfecting Results
To achieve the ideal balance of flavors, consider taste-testing your pickling liquid before immersing the ginger. Adjust the sugar and salt as needed based on your personal preference.
Temperature also plays a role; ensure that your pickling liquid cools completely before adding the ginger. This allows the ginger to absorb the flavors effectively without becoming overly cooked or mushy.
Troubleshooting/Variations
In pickling, slight variations can lead to different outcomes. If your ginger turns out too salty or sweet, remember to balance the flavors in your next batch. You can easily adjust the quantities of sugar and salt to suit your taste.
If you find your ginger lacks that distinctive bright color, don’t worry! It’s all part of the learning process. Next time, consider adding a few more pink stems or a splash of beet juice for a more vibrant appearance.
Serving and Storage
Serving Presentation
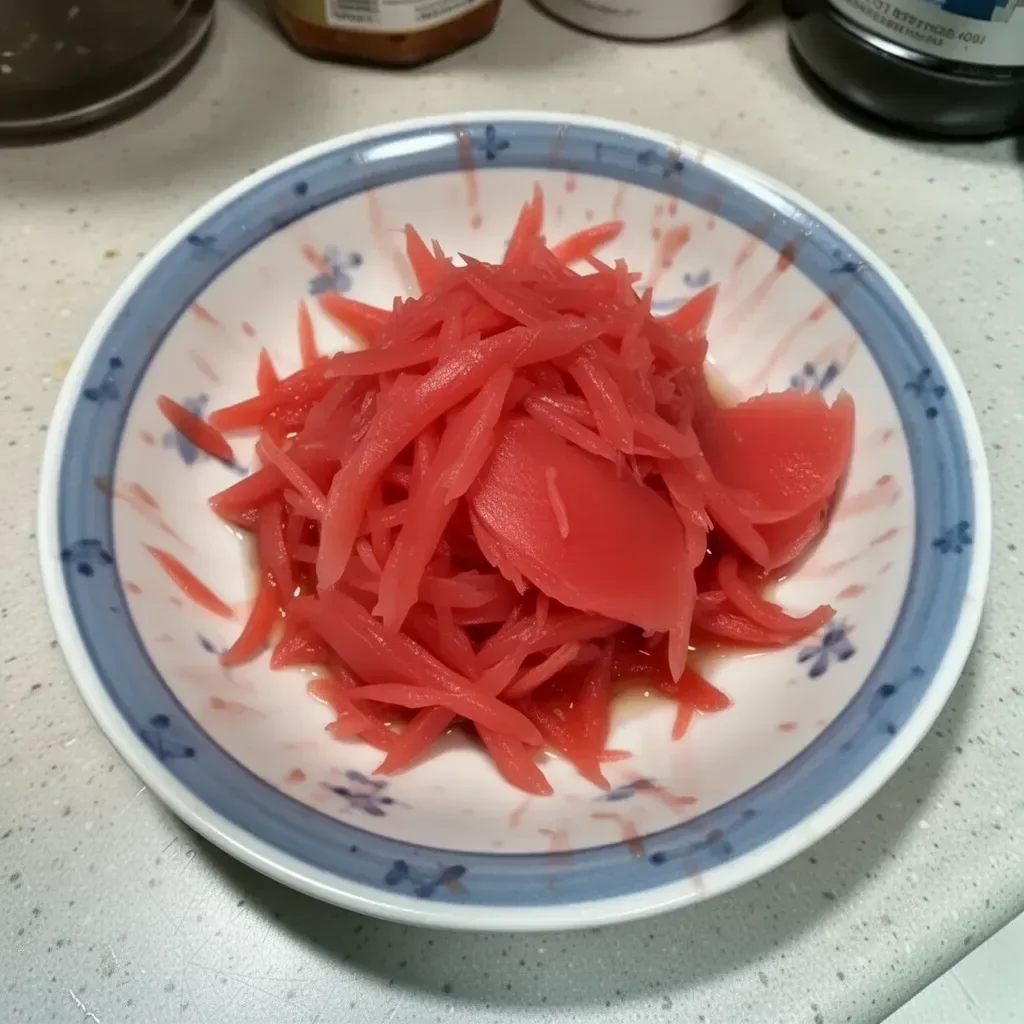
Homemade pickled sushi ginger presents beautifully alongside sushi. Use a small dish to display the vibrant pink slices, inviting your guests to enjoy their sushi with this delightful condiment. Garnish the dish with some sesame seeds or even a small sprig of fresh cilantro for an extra touch.
Pairings/Storage
Pickled sushi ginger pairs perfectly with various sushi styles, enhancing flavors without overpowering them. It acts as a palate cleanser, making it a must-have for any sushi platter.
Store the pickled ginger in the refrigerator in an airtight container. It will stay fresh for several weeks, allowing you to enjoy it multiple times with your sushi creations or other dishes like salads and rice.
Conclusion
Homemade pickled sushi ginger offers a delightful way to experience the harmony of flavors in Japanese cuisine. By preparing it yourself, you gain full control over the taste and presentation. The simple process transforms young ginger into a vibrant condiment perfect for any sushi meal, providing an exciting burst of flavor with each bite. Creating this homemade treat allows personal touches and the satisfaction of enhancing your culinary repertoire.
Print
Pickled Sushi Ginger (Homemade Gari)
- Prep Time: 15 minutes
- Cook Time: 10 minutes
- Total Time: 1440 minutes
- Yield: 8 servings
- Category: Condiment
- Method: Pickling
- Cuisine: Japanese
- Diet: Vegan
Description
Experience the vibrant tang of homemade pickled sushi ginger, or gari, that beautifully complements your sushi creations.
Ingredients
- 250 ml water
- 125 ml rice vinegar or white vinegar
- 80 g light brown or white sugar
- 1 tsp Japanese light soy sauce
- 1 small piece of dried kombu (about 5 cm)
- 340 g young ginger root
- 1 tsp salt
Instructions
- Combine water, rice vinegar, light brown sugar, soy sauce, and dried kombu in a saucepan. Heat until near boiling, then remove from heat and let cool.
- Clean the ginger by scrubbing it thoroughly and then scraping off the outer skin. Set aside the pink stems.
- Slice the ginger thinly, then blanch in boiling water for 1 minute.
- Drain the ginger slices and sprinkle with salt before letting them cool.
- Squeeze out the excess liquid.
- Transfer the cooled pickling liquid to a container. Remove the kombu and add the ginger slices and pink stems. Cover the container.
- Refrigerate for at least 24 hours before serving.
Notes
Use the freshest young ginger for the best flavor. Patience is key to letting the flavors develop over time.